OpenClaw + Telegram
Drive OpenClaw from a Telegram bot.
Overview
OpenClaw is an open-source AI agent Gateway that acts as a bridge between chat applications and AI agents. Through a centralized Gateway process, it connects chat platforms like Telegram, WhatsApp, and Discord to AI coding agents, enabling direct AI programming interactions within chat windows. By configuring Z-Mint AI API as a custom model provider in OpenClaw and connecting a Telegram Bot, you can use Z-Mint AI’s Claude models (such as Claude 4.6 Opus, Claude 4.5 Sonnet, Claude 4.5 Haiku) for AI-assisted coding conversations directly in Telegram. This guide covers:
- Installing and configuring OpenClaw Gateway
- Creating a Telegram Bot and connecting it to OpenClaw
- Setting up Z-Mint AI API as a custom model provider
- Verifying the connection and getting started
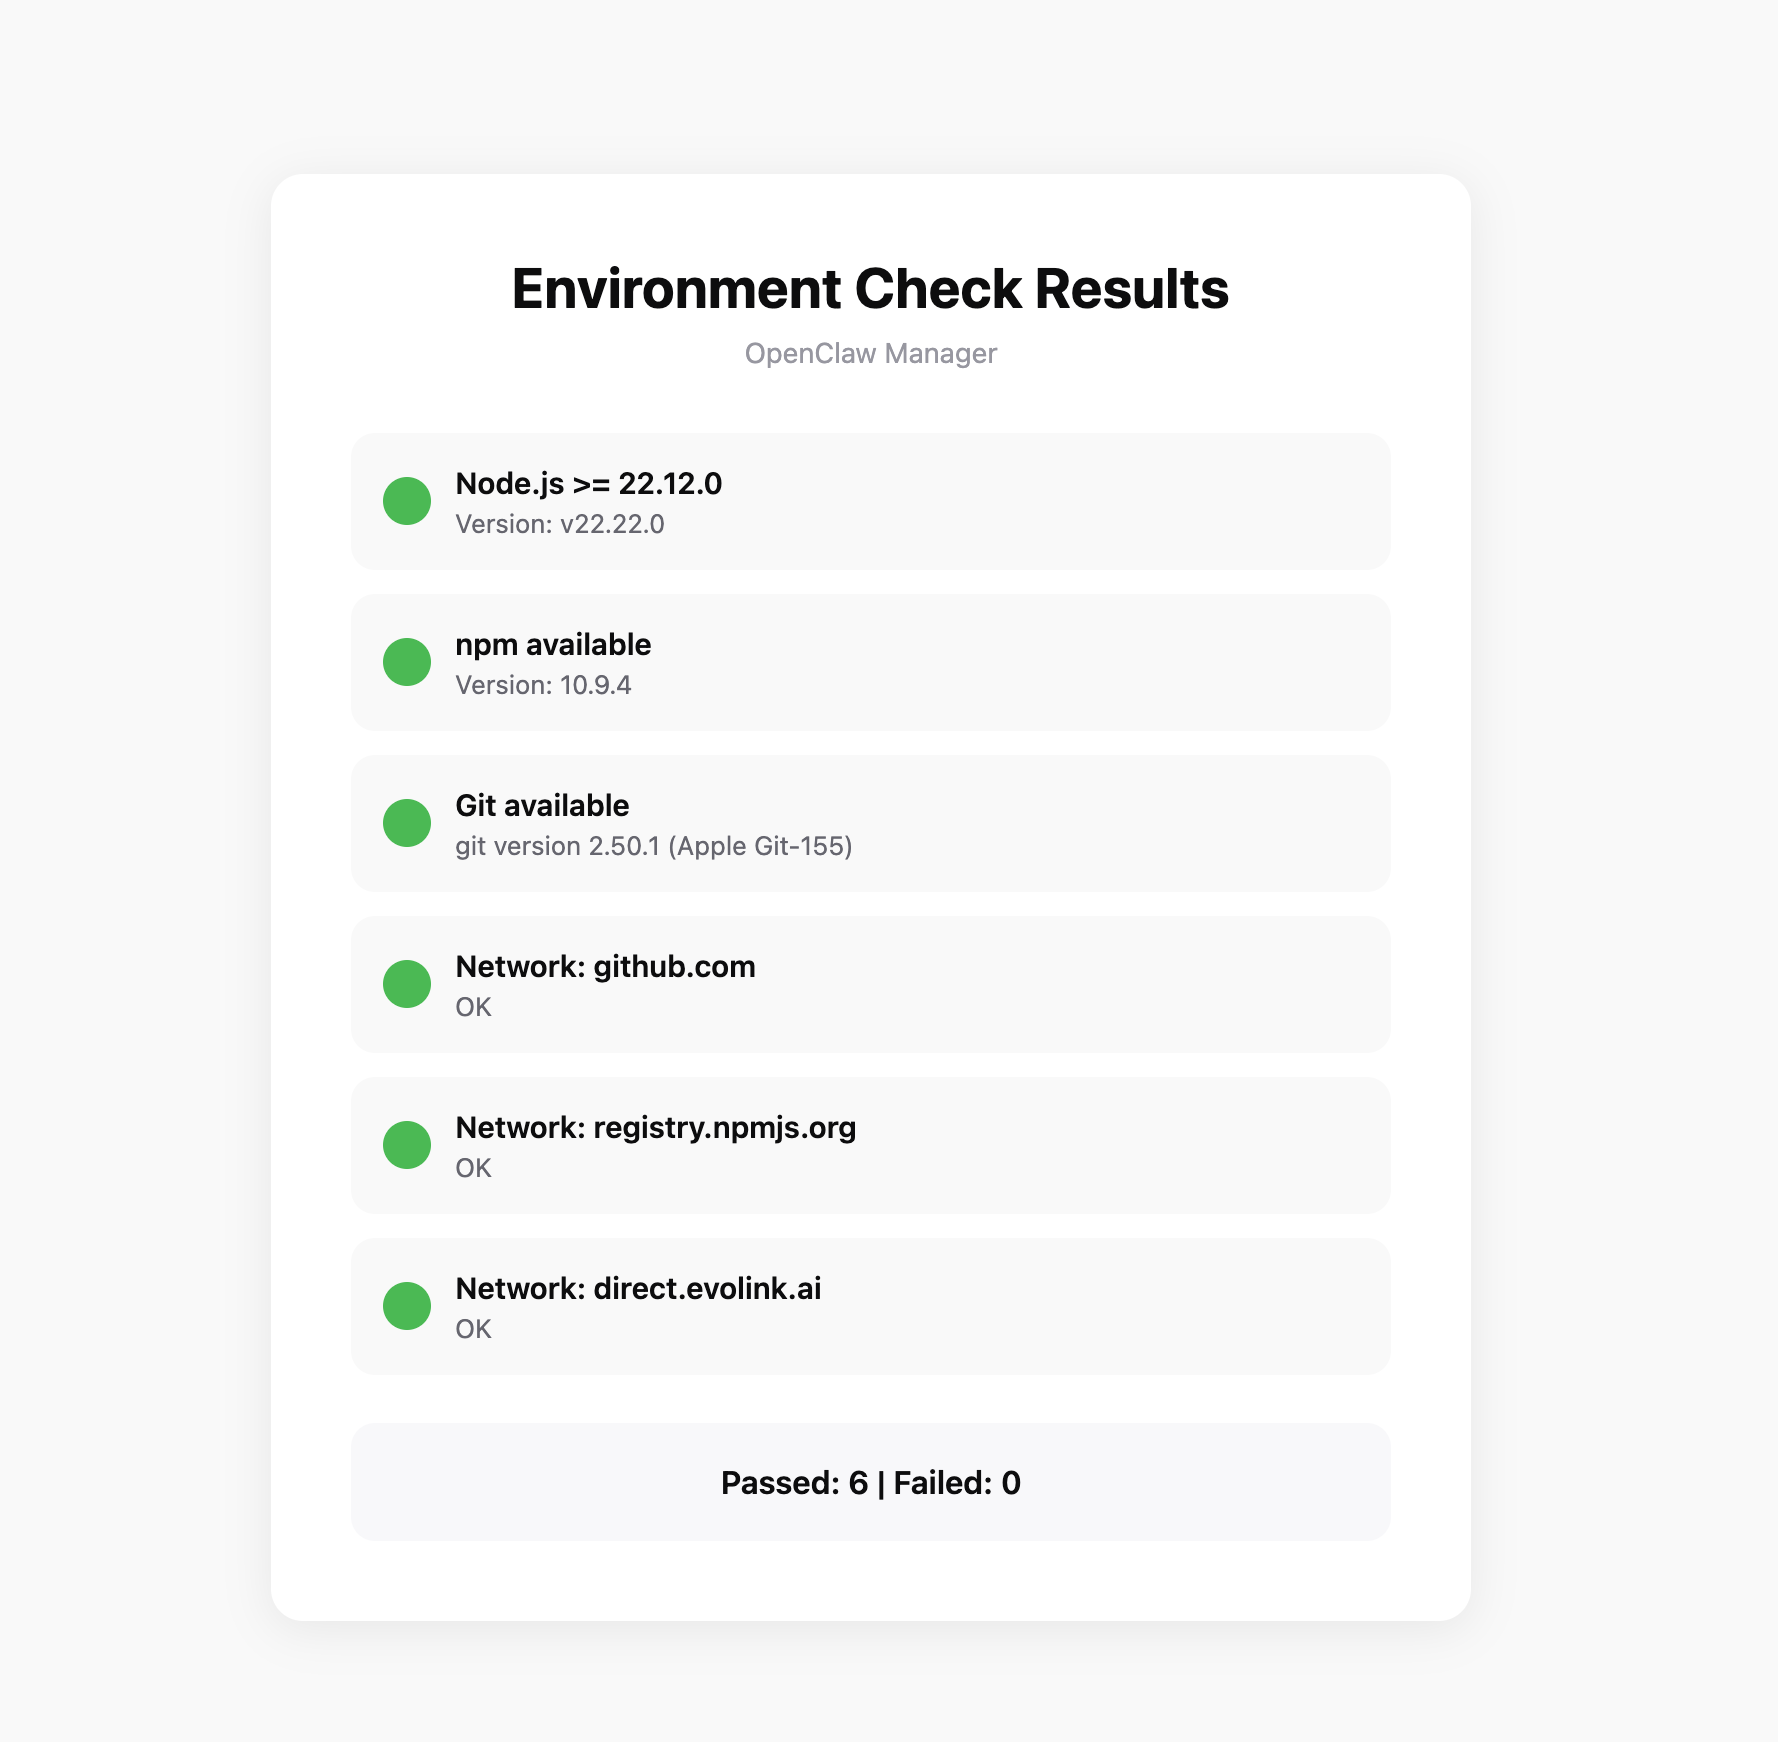
System Environment Check
Before installation, it’s recommended to run the environment checker tool to ensure your system meets OpenClaw’s requirements.
Download Checker Tool
Download the checker tool for your platform from GitHub Releases:
PlatformFilenameWindowsopenclaw-checker-win-x64.exemacOS (Intel)openclaw-checker-macos-x64macOS (Apple Silicon)openclaw-checker-macos-arm64Linuxopenclaw-checker-linux-x64
Check Items
The tool automatically checks the following:
- ✅ Node.js version (requires >= 22.12.0)
- ✅ npm available
- ✅ Git available
- ✅ Network connectivity (github.com, npmjs.org, aigc.zhengmi.org)
 If the check fails, the tool will provide specific fix suggestions.
Prerequisites
Before configuring, make sure you have:
1. Install Node.js
OpenClaw is installed via npm and requires Node.js 22 or higher.
- Windows
- macOS
Visit Node.js official website, download the Windows installer (.msi file), and run the installation program.After installation, open PowerShell to verify:
node --version
npm --version
It’s recommended to run PowerShell as administrator to avoid permission issues during installation.
Method 1: Using InstallerVisit Node.js official website, download the macOS installer (.pkg file), and run the installation program.Method 2: Using Homebrew
brew install node
After installation, open Terminal to verify:
node --version
npm --version
If you encounter permission issues during installation, you may need to add sudo before the command.
2. Get Z-Mint AI API Key
- Log in to Z-Mint AI Dashboard
- Find API Keys in the dashboard, click ‘Create New Key’ button, then copy the generated Key
- API Key usually starts with
sk-
3. Prepare a Telegram Account
You will need it to create a Bot and test the integration.
Step 1: Install OpenClaw
Run the following command in your terminal:
npm install -g openclaw@latest
Step 2: Onboarding
Run the onboarding command. OpenClaw will guide you through the initial setup and install the background daemon service:
openclaw onboard --install-daemon
1. Confirm Installation
The system will display a risk disclaimer. Confirm to proceed: 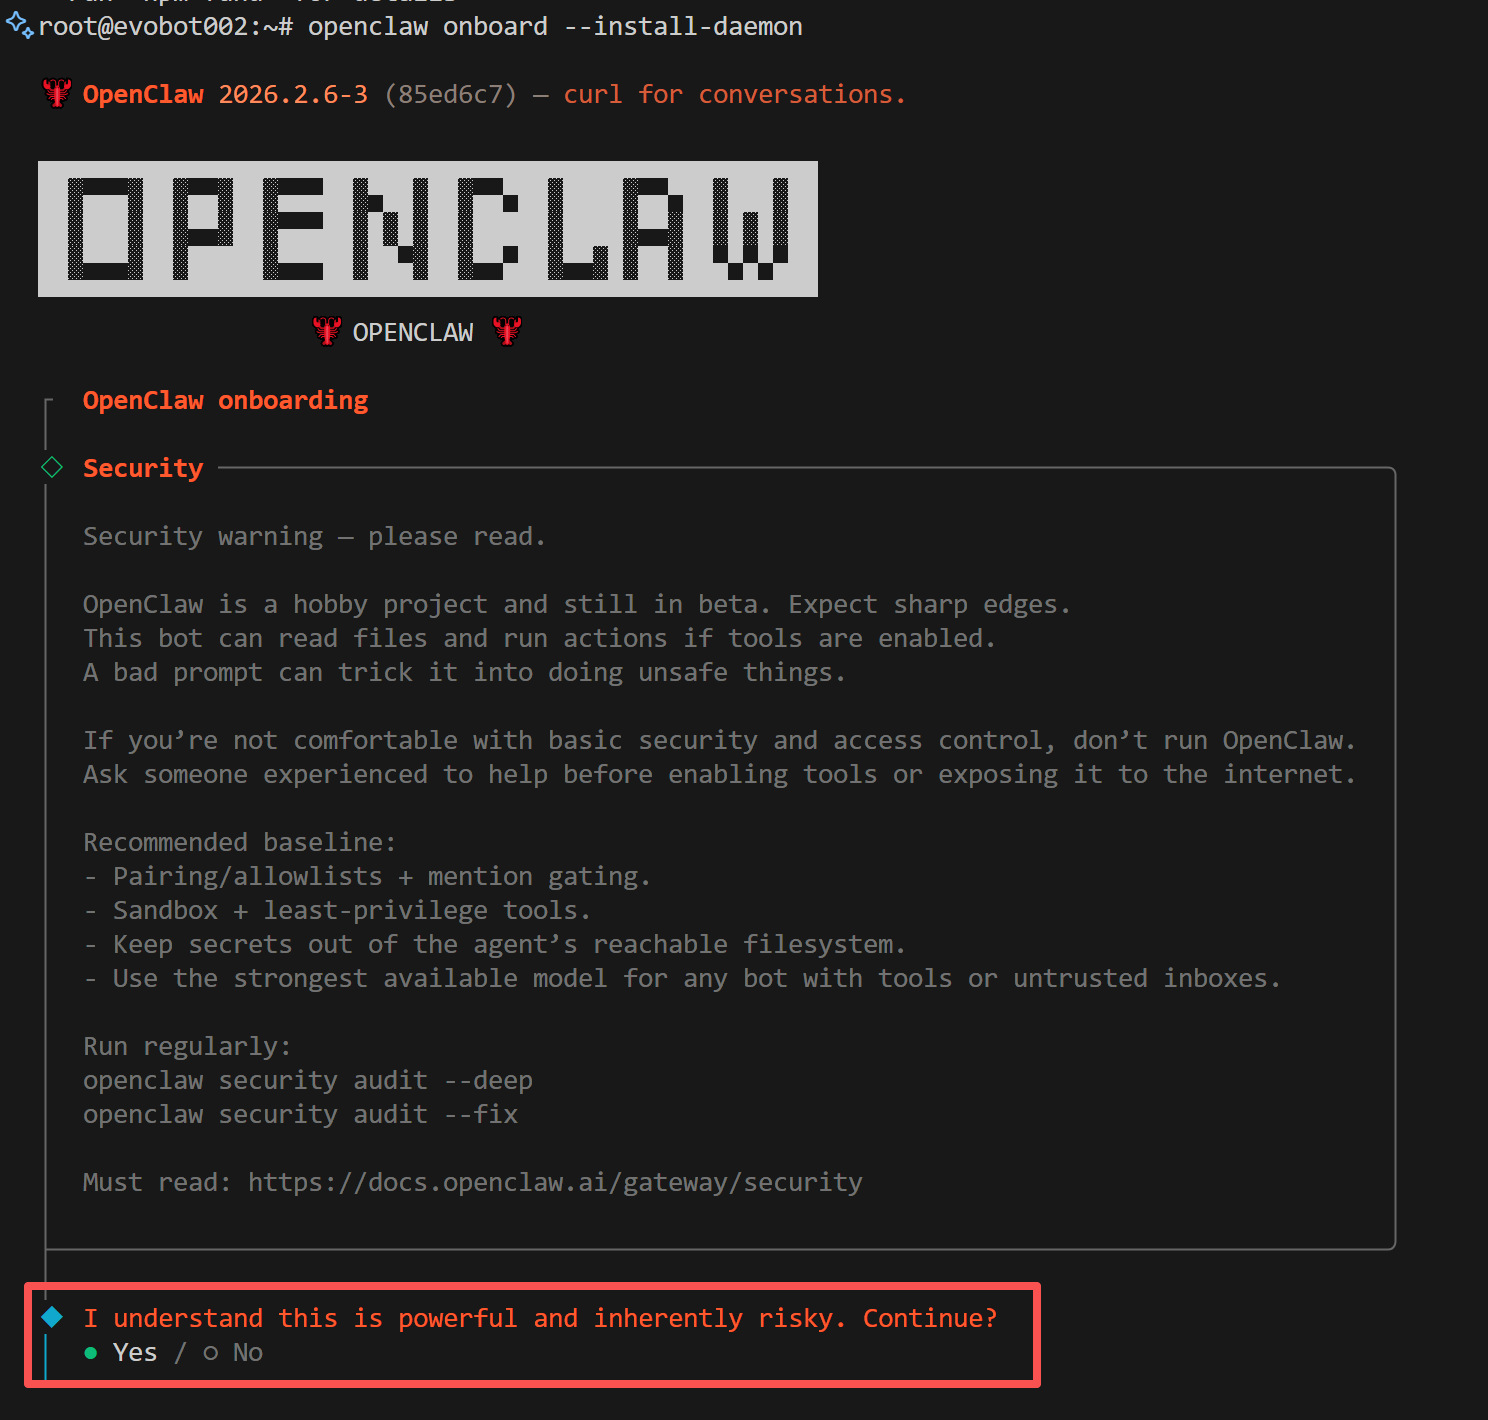
2. Select Installation Mode
When prompted to choose an installation mode, select Quickstart: 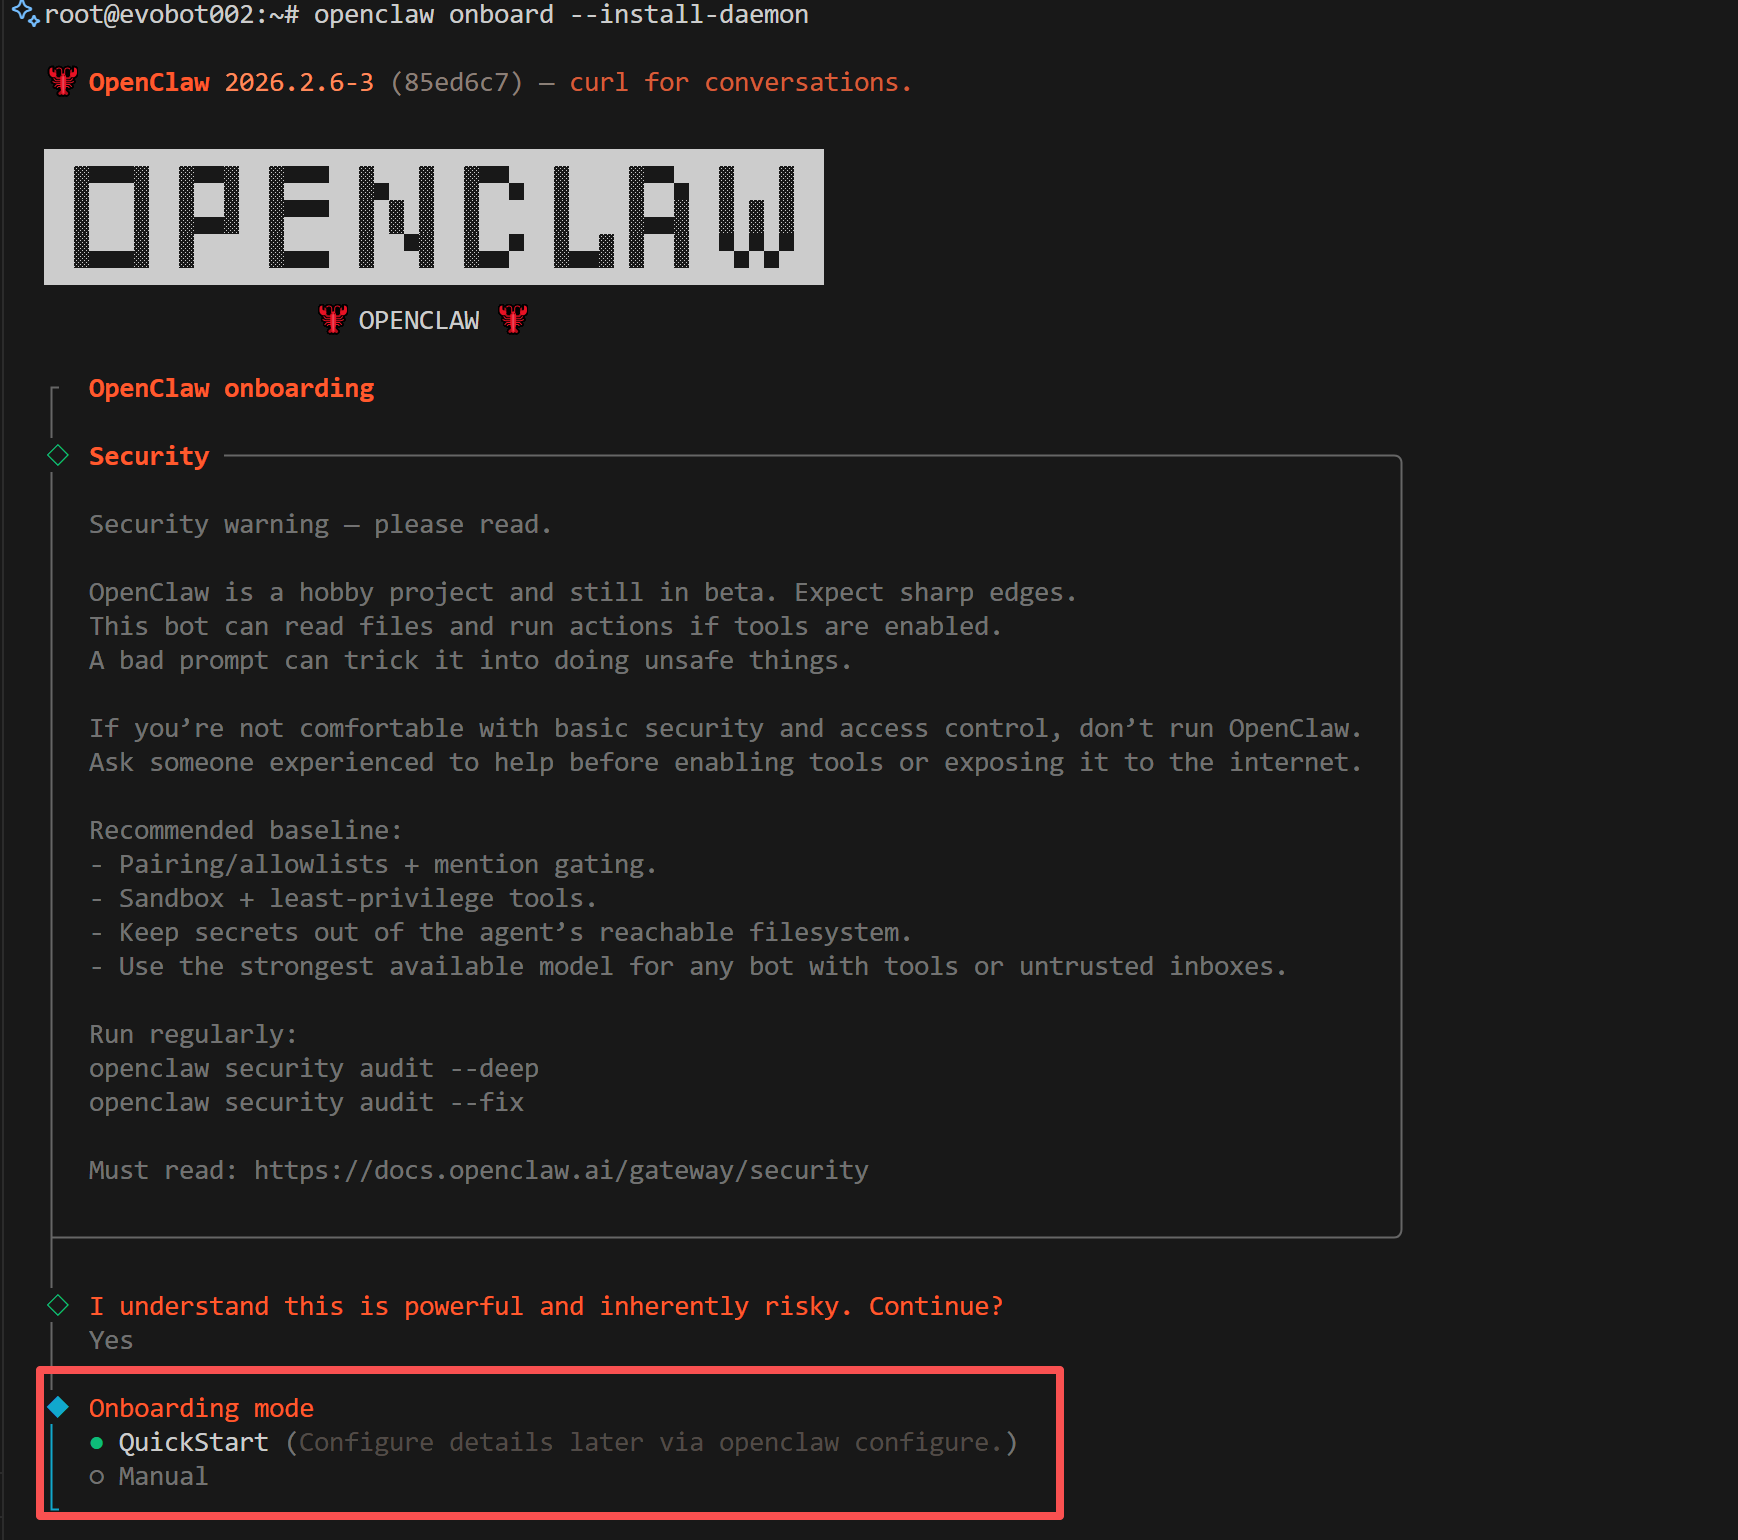
3. Select Provider
When prompted to choose a model provider, select Skip. We will manually configure Z-Mint AI as a custom provider later: 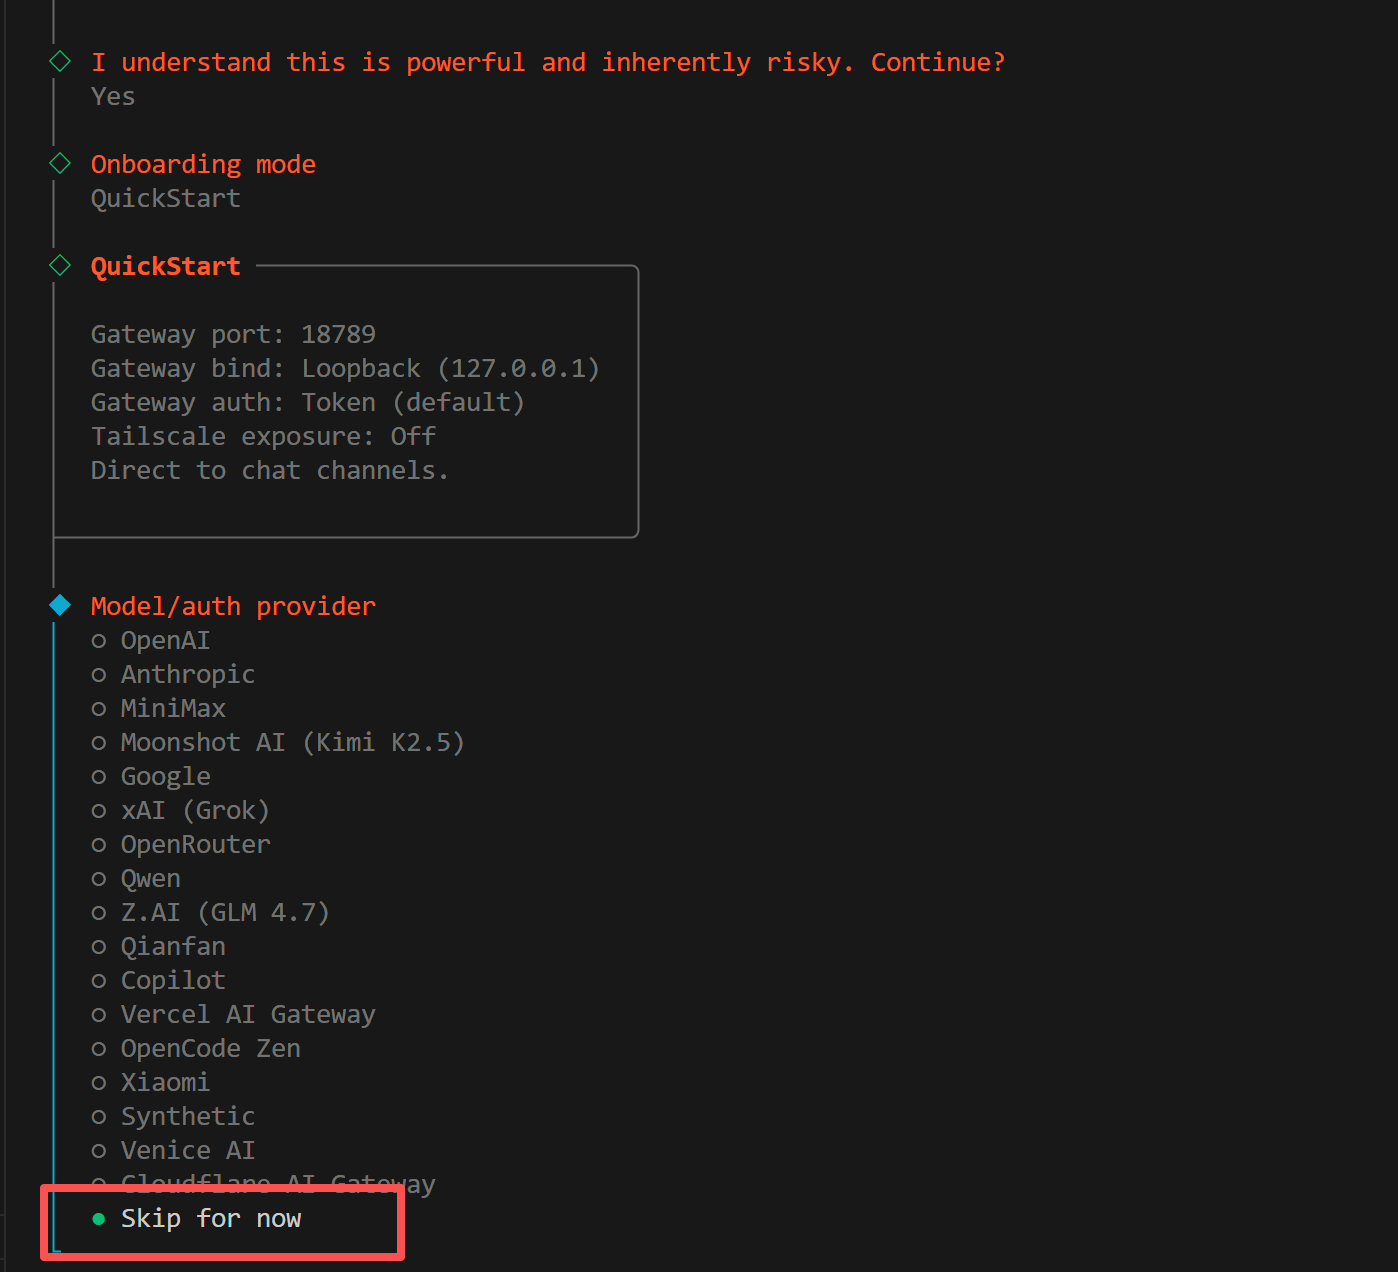
4. Select Models
When prompted to choose which models to enable, select All: 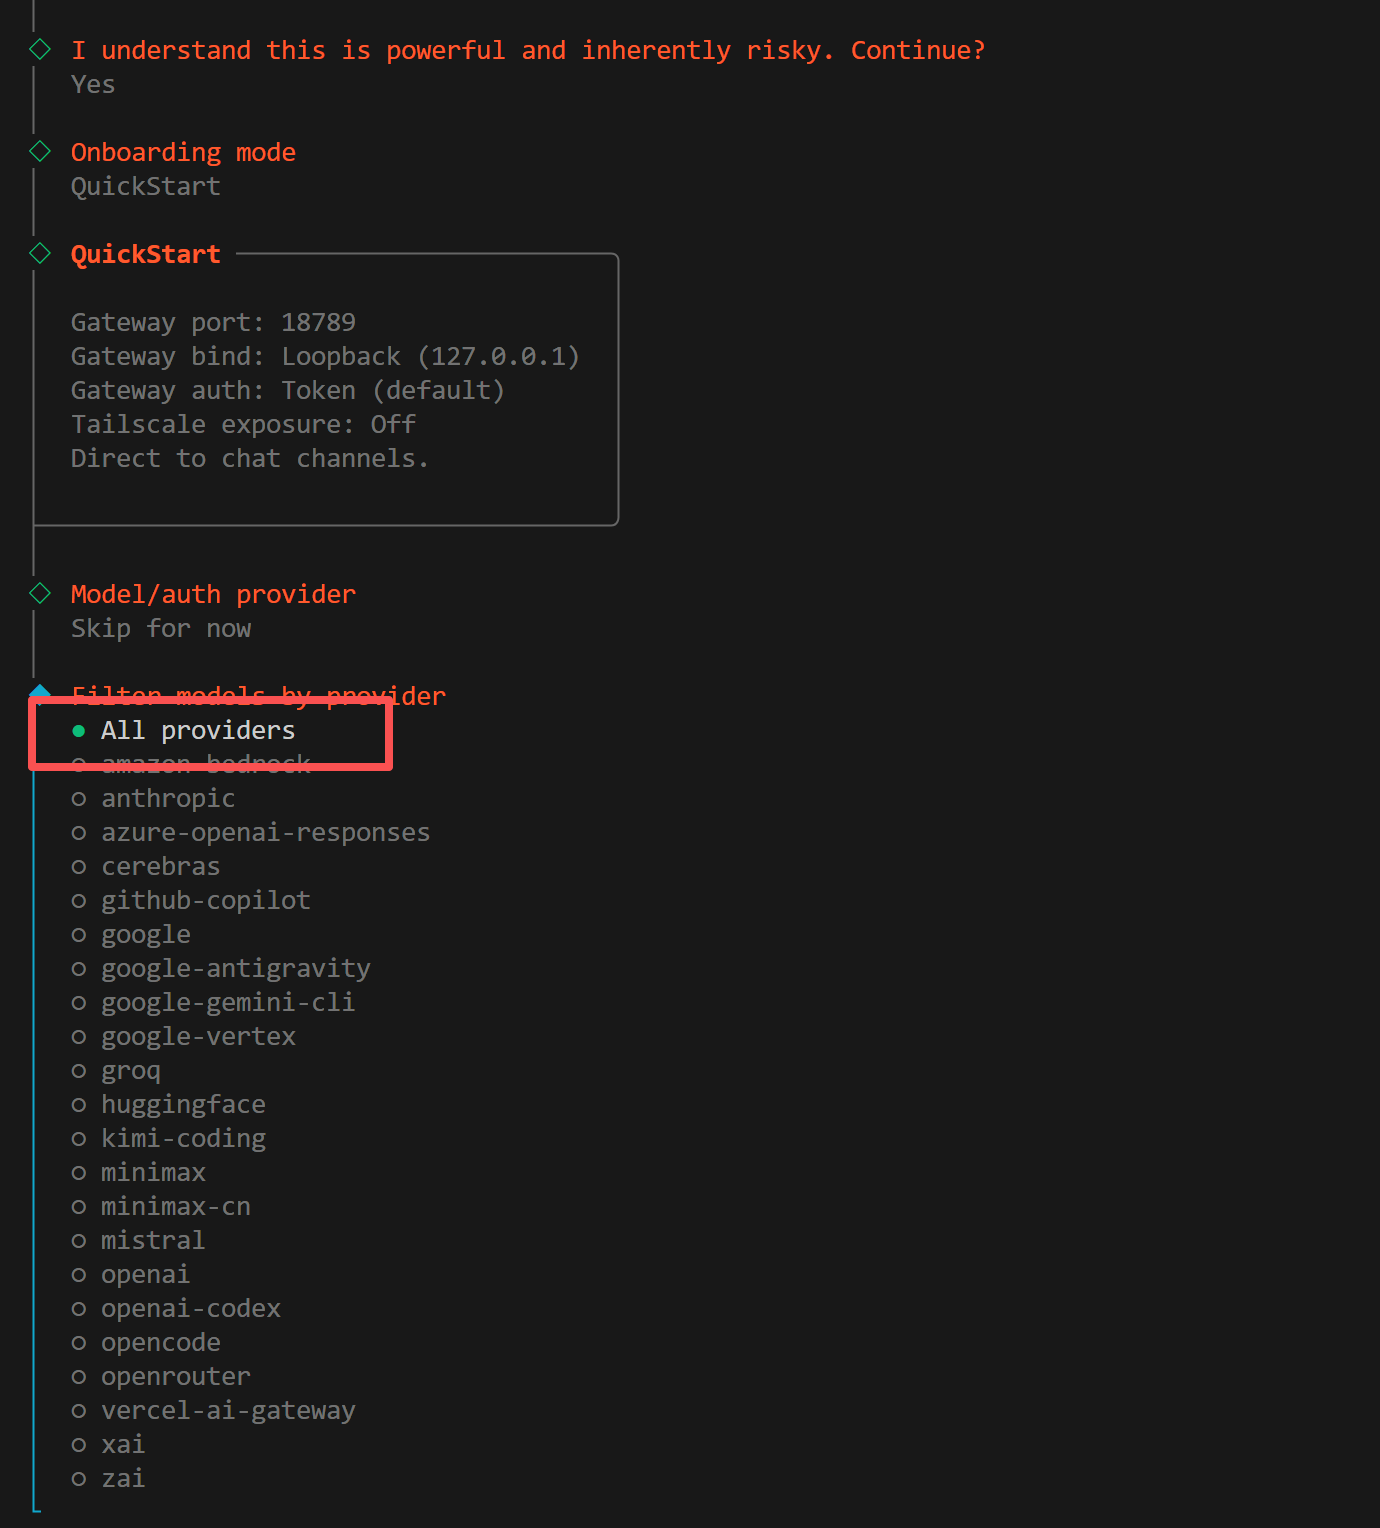
5. Select Default Model
When prompted to choose a default model, select Keep current: 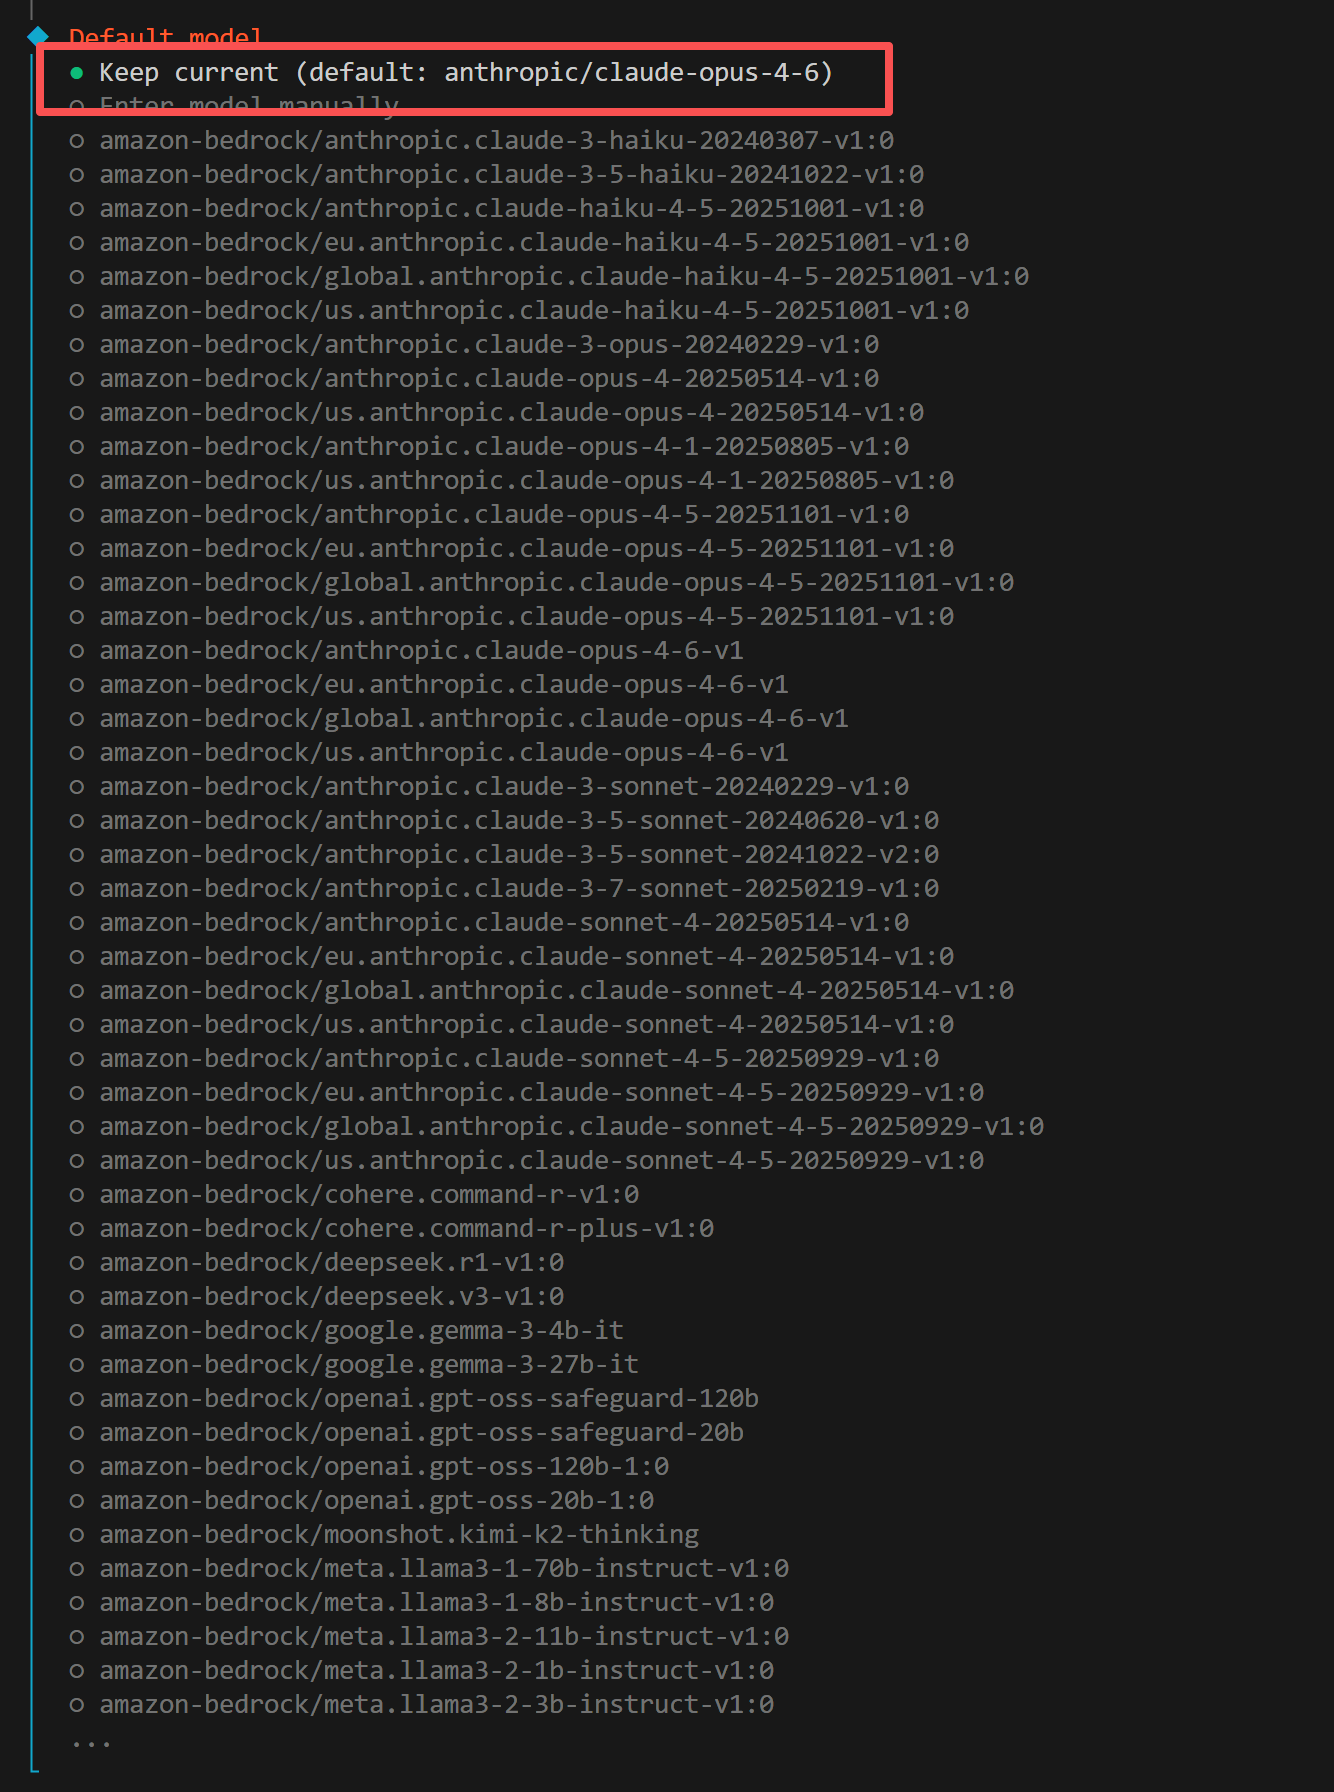
Step 3: Create Telegram Bot
The onboarding flow will prompt you to select a chat channel. Select Telegram (Bot API).
1. Visit BotFather
Open Telegram and visit @BotFather, then click START BOT to begin: 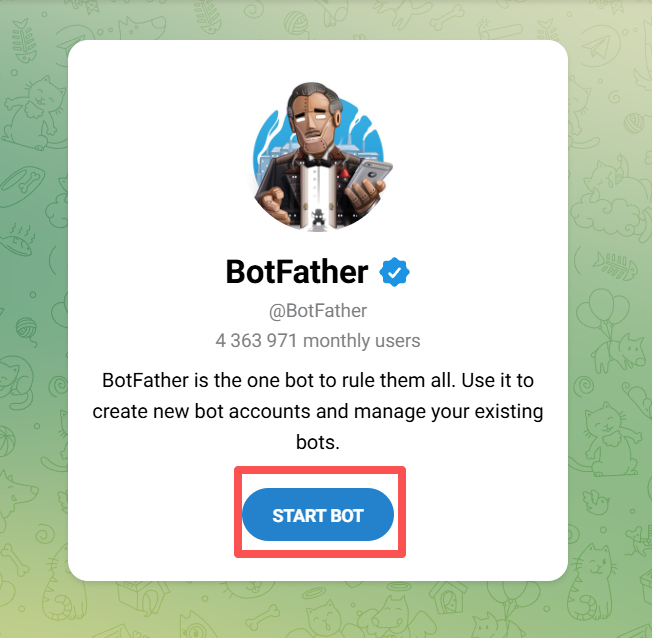
2. Create Bot
Type /start in the chat. BotFather will reply with a list of available commands: 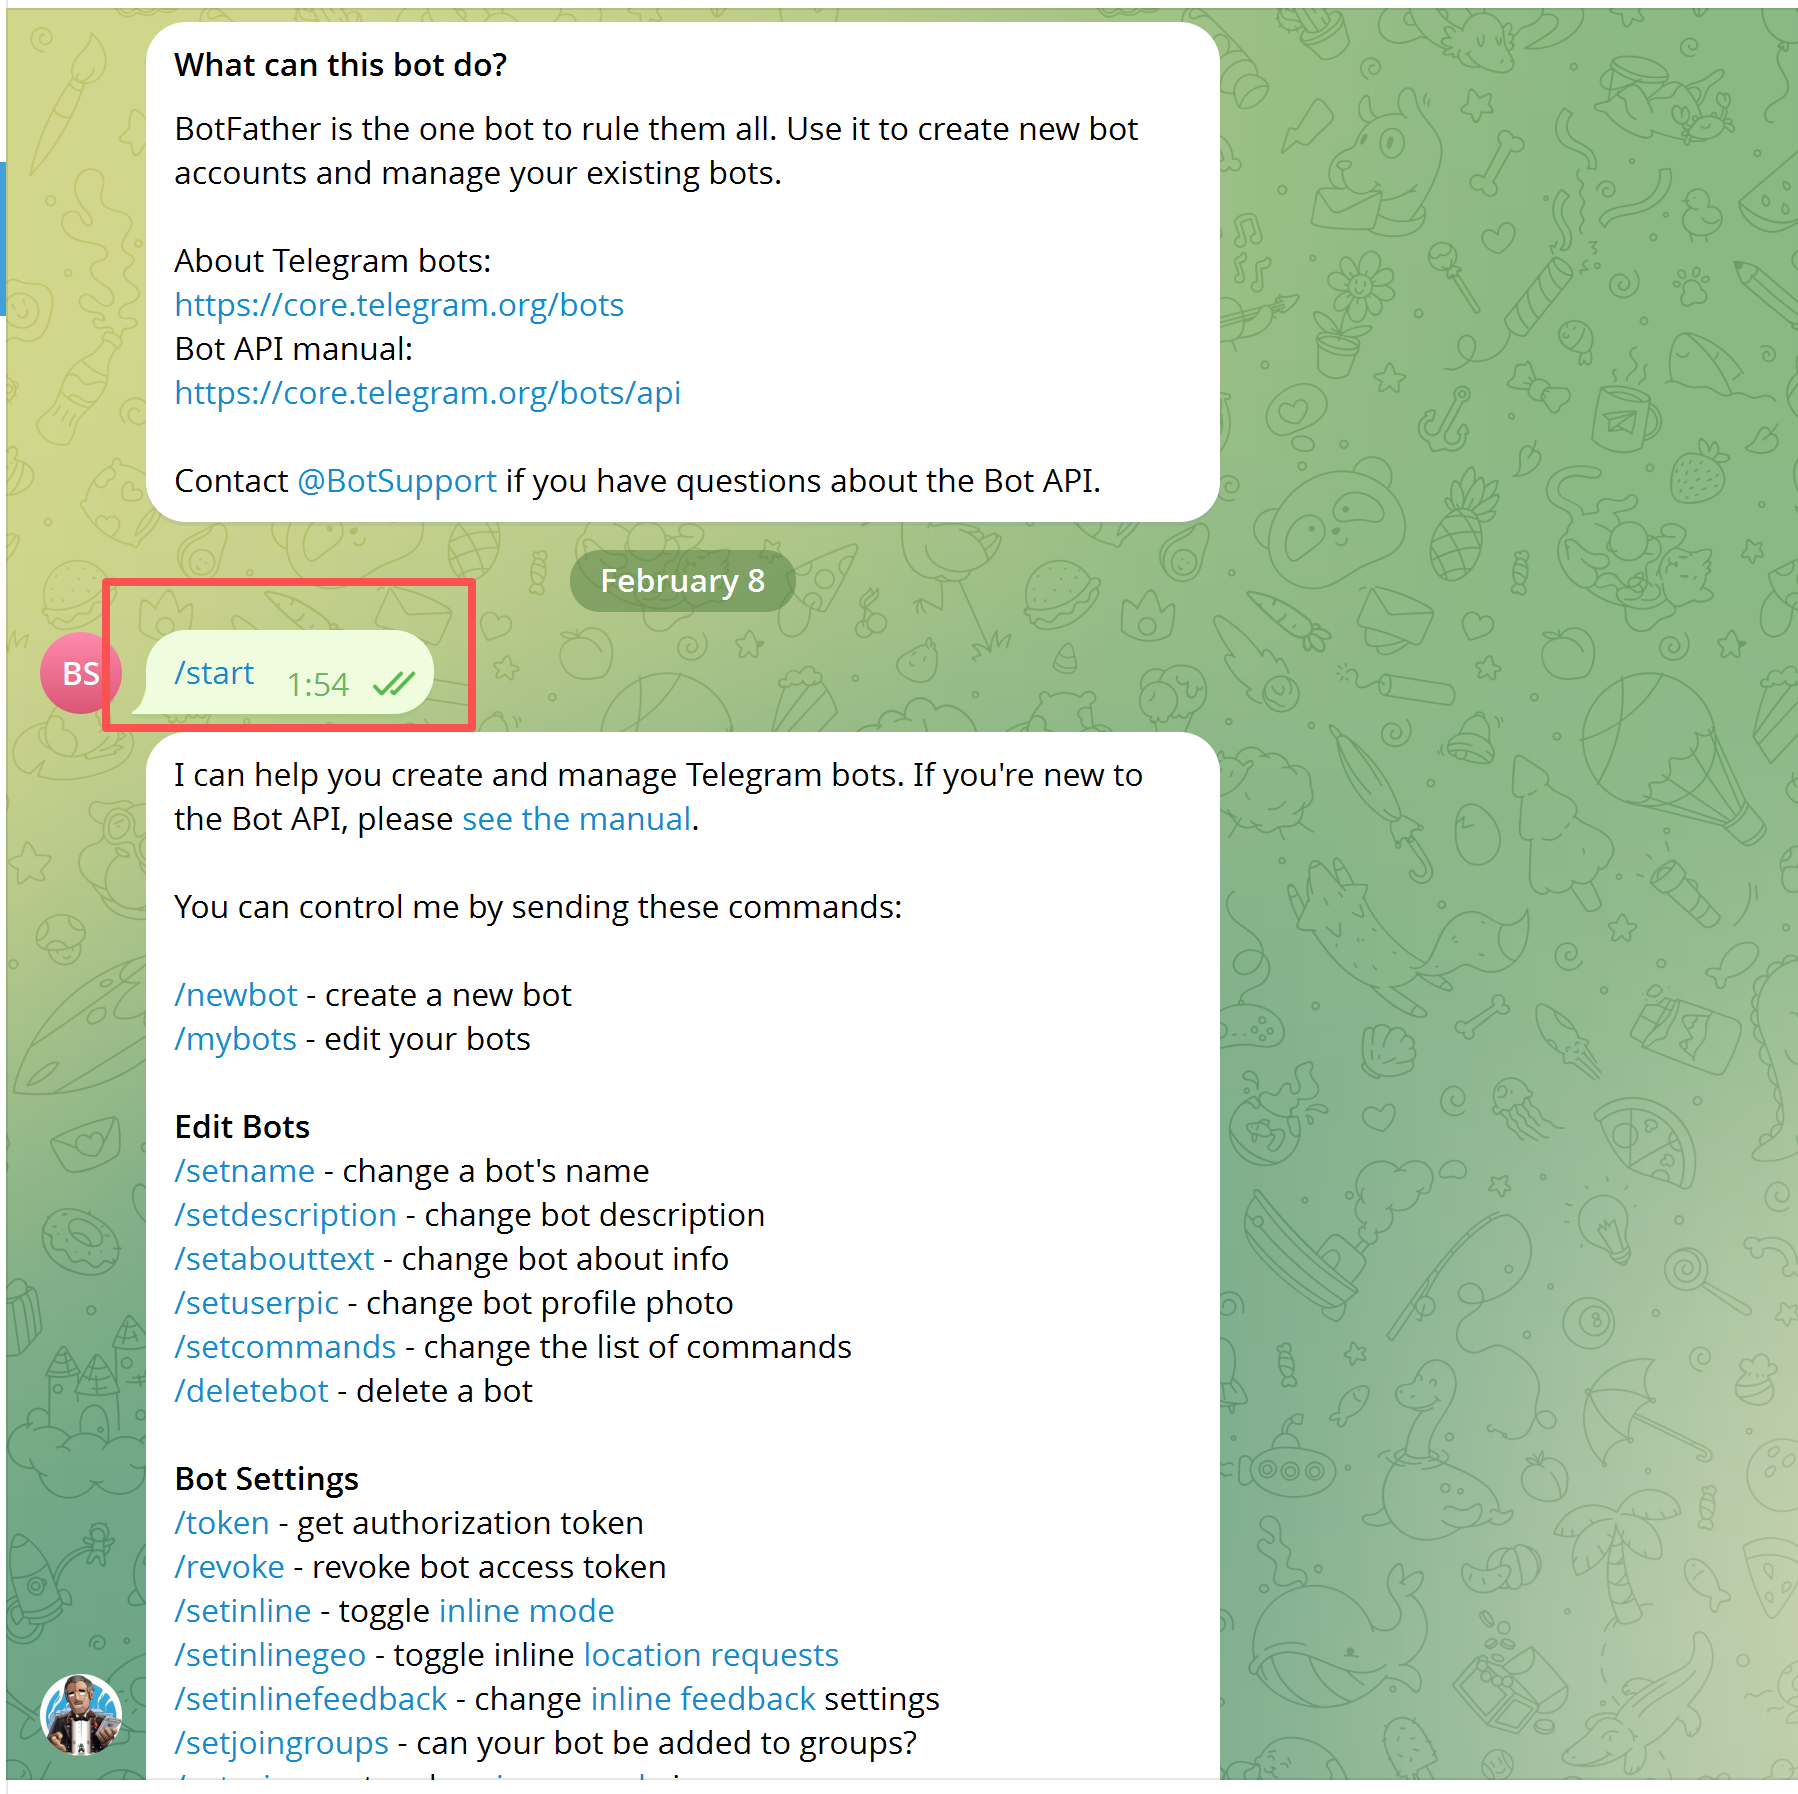 Type
Type /newbot. Follow the prompt to set a unique Bot username that must end with bot (e.g., my_zmint_bot). Once created, BotFather will return a message containing a Token in this format:
123456789:ABCdefGHIjklMNOpqrsTUVwxyz
Copy and save this Token.
3. Enter Token
Go back to the terminal onboarding flow, paste the Bot Token into the prompt and confirm: 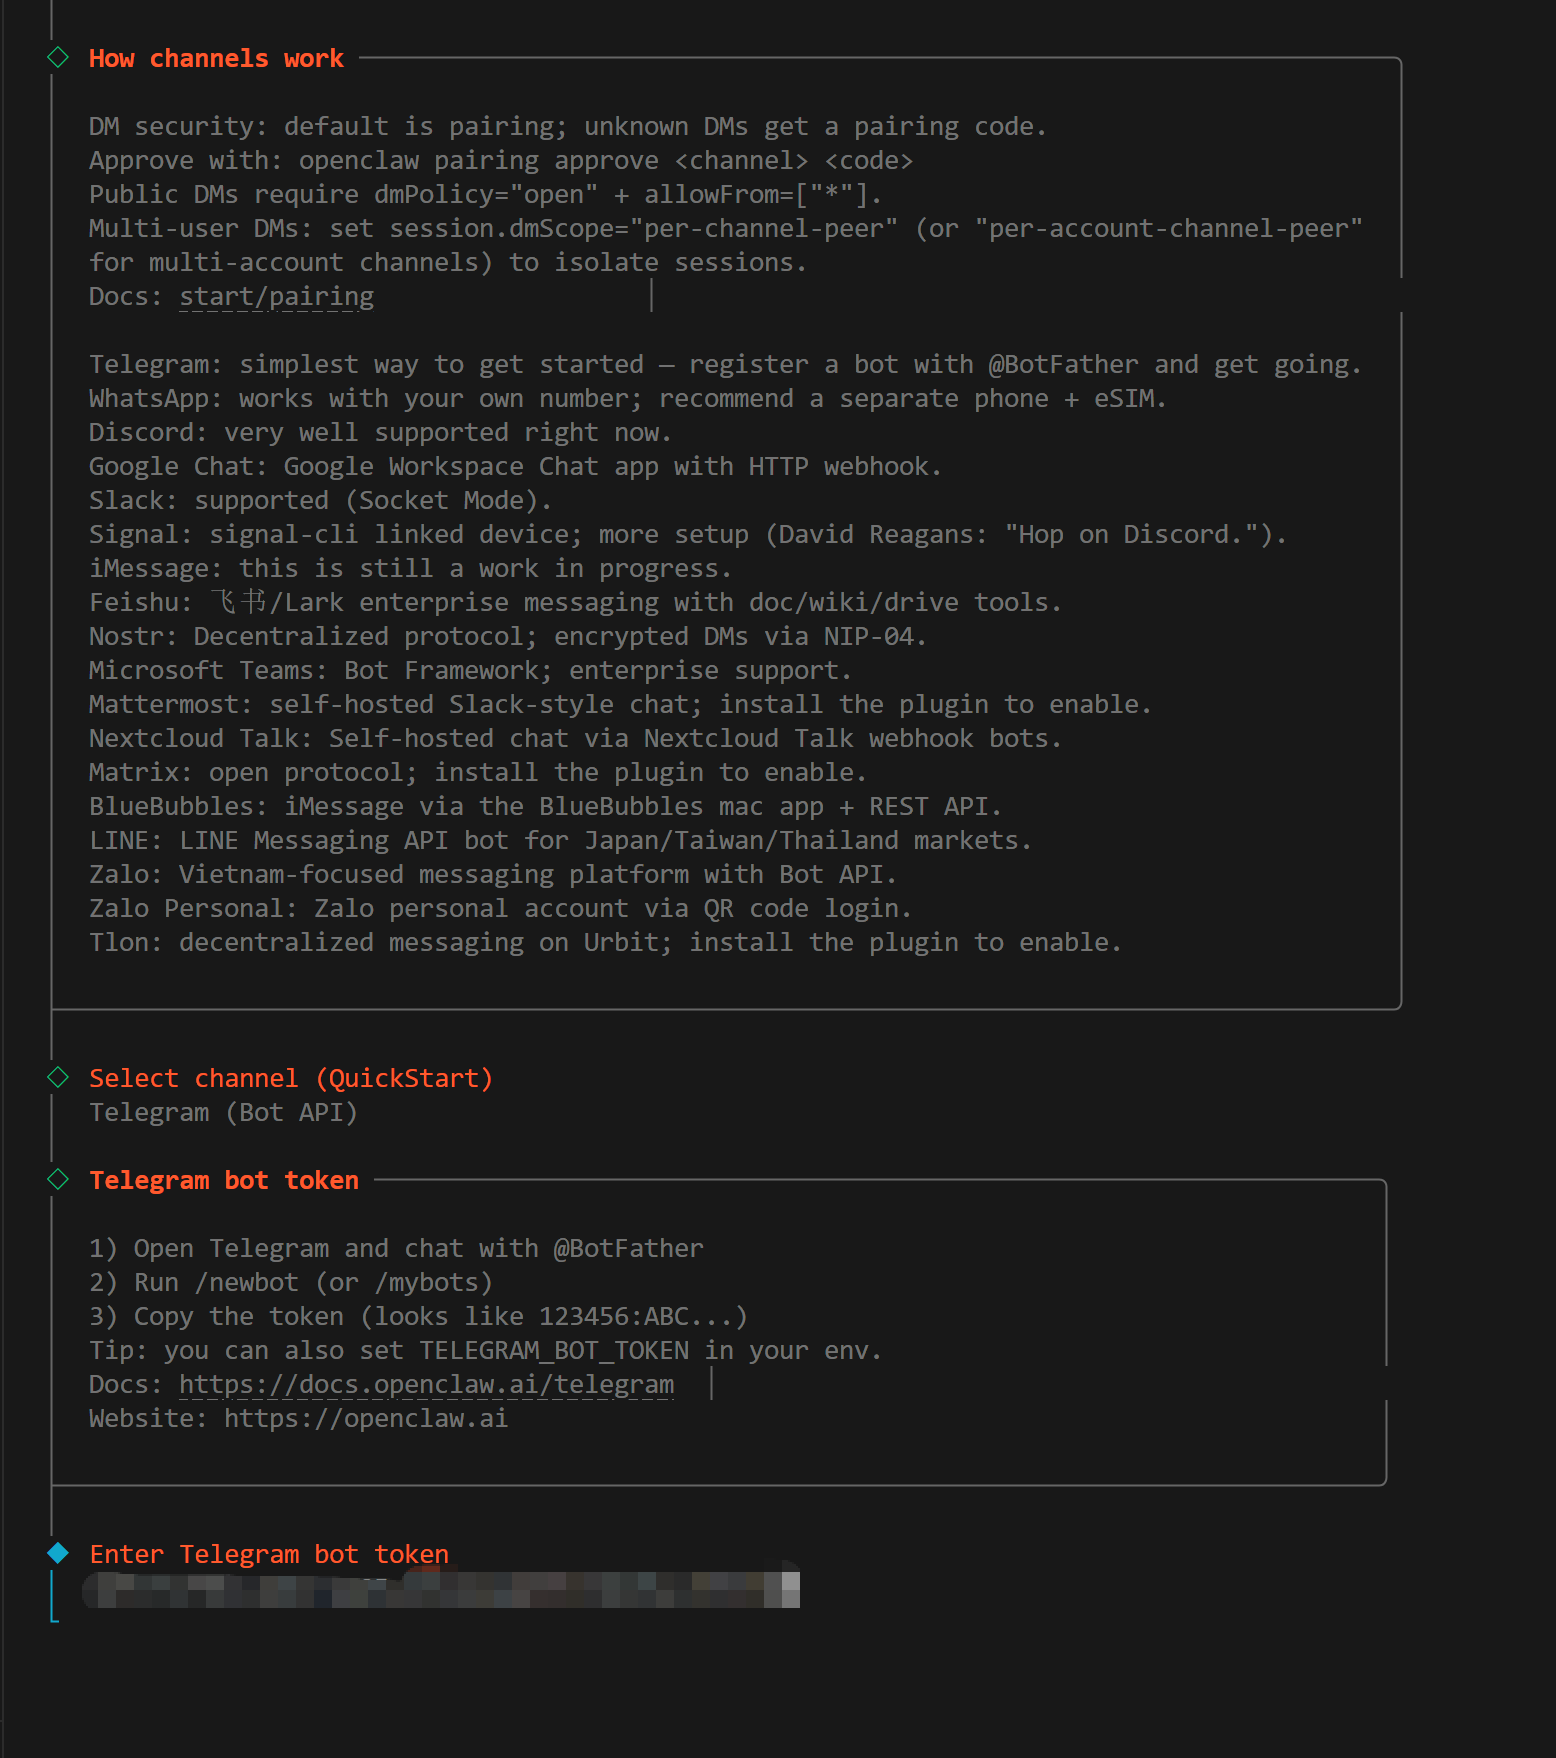
4. Restart Gateway
After entering the Token, restart the Gateway to apply the configuration: 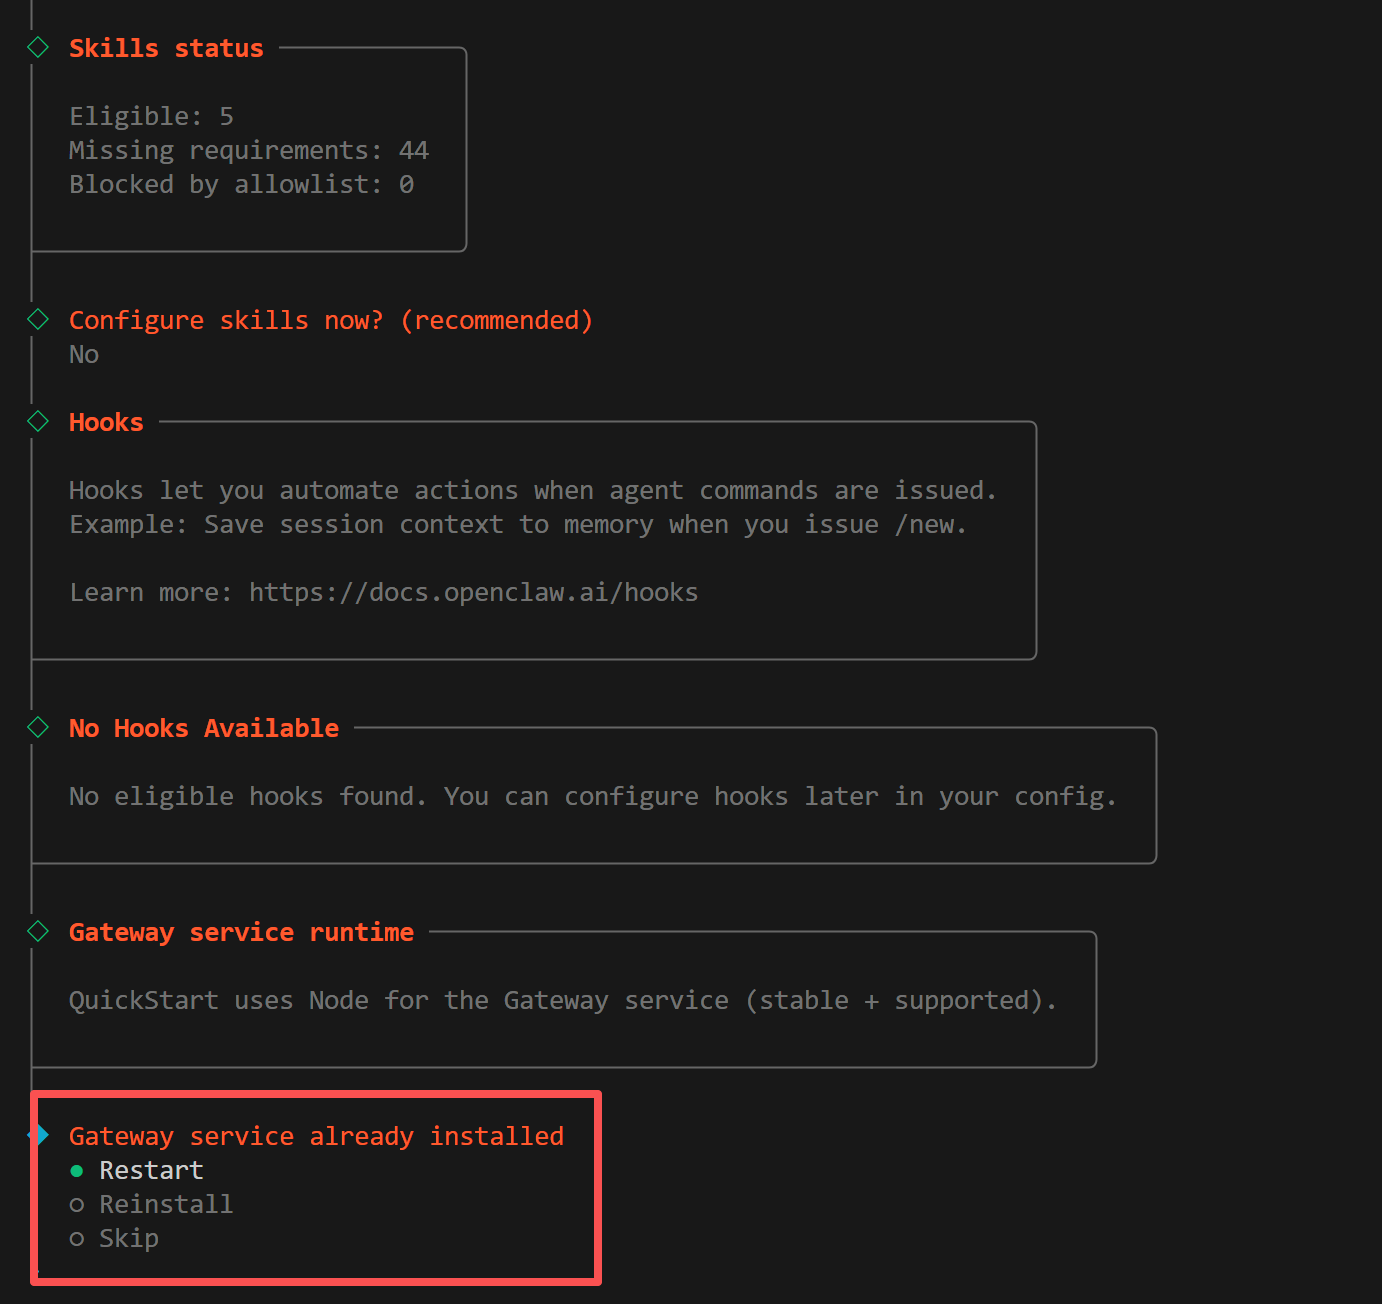
Step 4: Configure Z-Mint AI API
1. Locate Config File
Locate the openclaw.json configuration file in the OpenClaw installation directory and open it for editing: 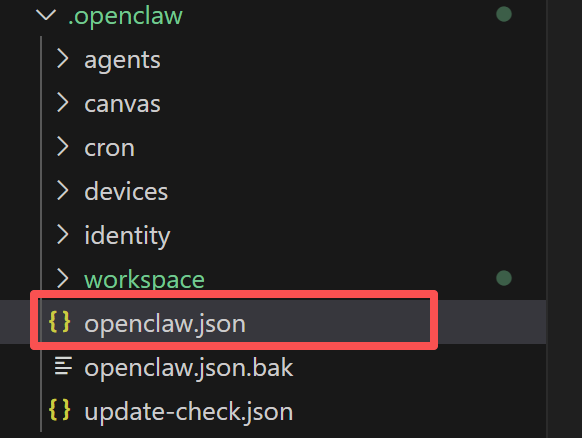
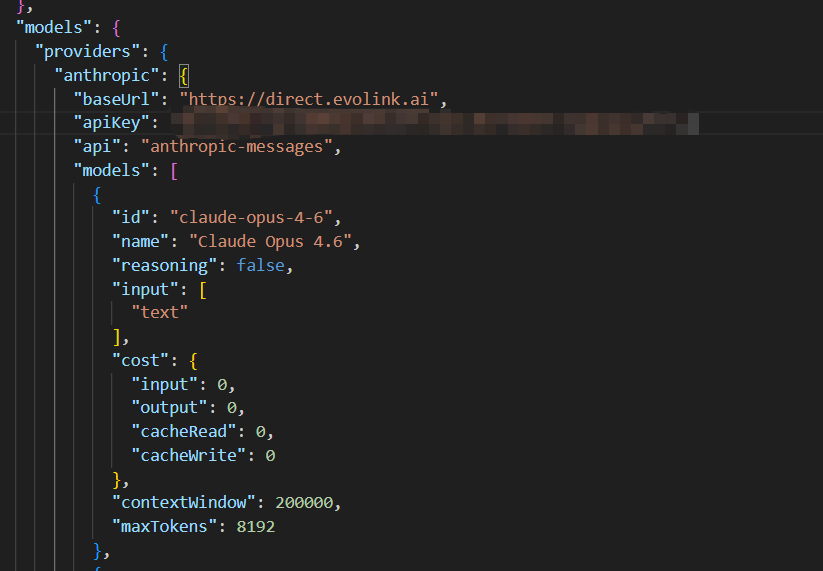
2. Configure Model Provider
In openclaw.json, find the models field and add Z-Mint AI as a custom model provider:
"models": {
  "providers": {
    "zmint-anthropic": {
      "api": "anthropic-messages",
      "baseUrl": "https://aigc.zhengmi.org",
      "apiKey": "your-zmint-api-key",
      "models": [
        { "id": "claude-opus-4-7", "name": "Claude Opus 4.7" },
        { "id": "claude-opus-4-6", "name": "Claude Opus 4.6" },
        { "id": "claude-sonnet-4-6", "name": "Claude Sonnet 4.6" },
        { "id": "claude-opus-4-5-20251101", "name": "Claude Opus 4.5" },
        { "id": "claude-opus-4-1-20250805", "name": "Claude Opus 4.1" },
        { "id": "claude-sonnet-4-5-20250929", "name": "Claude Sonnet 4.5" },
        { "id": "claude-sonnet-4-20250514", "name": "Claude Sonnet 4" },
        { "id": "claude-haiku-4-5-20251001", "name": "Claude Haiku 4.5" }
      ]
    },
    "zmint-google": {
      "api": "google-generative-ai",
      "baseUrl": "https://aigc.zhengmi.org/v1beta",
      "apiKey": "your-zmint-api-key",
      "models": [
        { "id": "gemini-3.1-flash-lite-preview", "name": "Gemini 3.1 Flash Lite" },
        { "id": "gemini-3.1-pro-preview", "name": "Gemini 3.1 Pro" },
        { "id": "gemini-2.5-pro", "name": "Gemini 2.5 Pro" },
        { "id": "gemini-2.5-flash", "name": "Gemini 2.5 Flash" },
        { "id": "gemini-3-pro-preview", "name": "Gemini 3.0 Pro" },
        { "id": "gemini-3-flash-preview", "name": "Gemini 3.0 Flash" }
      ]
    },
    "zmint-openai": {
      "api": "openai-completions",
      "baseUrl": "https://aigc.zhengmi.org/v1",
      "apiKey": "your-zmint-api-key",
      "models": [
        { "id": "gpt-5.4", "name": "GPT-5.4" },
        { "id": "gpt-5.2", "name": "GPT-5.2" },
        { "id": "gpt-5.1", "name": "GPT-5.1" },
        { "id": "gpt-5.1-chat", "name": "GPT-5.1 Chat" },
        { "id": "gpt-5.1-thinking", "name": "GPT-5.1 Thinking" },
        { "id": "gemini-2.5-pro", "name": "Gemini 2.5 Pro (OpenAI SDK)" },
        { "id": "gemini-2.5-flash", "name": "Gemini 2.5 Flash (OpenAI SDK)" },
        { "id": "gemini-3-pro-preview", "name": "Gemini 3.0 Pro (OpenAI SDK)" },
        { "id": "gemini-3-flash-preview", "name": "Gemini 3.0 Flash (OpenAI SDK)" },
        { "id": "doubao-seed-2.0-pro", "name": "Doubao Seed 2.0 Pro" },
        { "id": "doubao-seed-2.0-lite", "name": "Doubao Seed 2.0 Lite" },
        { "id": "doubao-seed-2.0-mini", "name": "Doubao Seed 2.0 Mini" },
        { "id": "doubao-seed-2.0-code", "name": "Doubao Seed 2.0 Code" },
        { "id": "kimi-k2-thinking", "name": "Kimi K2 Thinking" },
        { "id": "kimi-k2-thinking-turbo", "name": "Kimi K2 Thinking Turbo" }
      ]
    }
  }
}
Replace "your-zmint-api-key" with the actual API Key from your Z-Mint AI Dashboard.
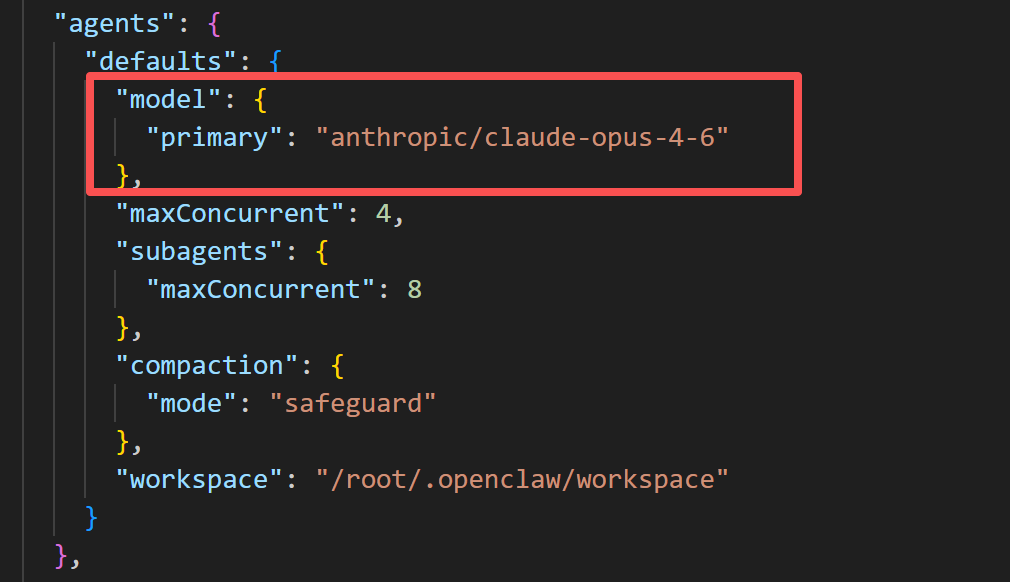
3. Configure Default Model
In the agents field, set model.primary to the Z-Mint AI model you just added:
"model": {
  "primary": "zmint-anthropic/claude-opus-4-6"
}
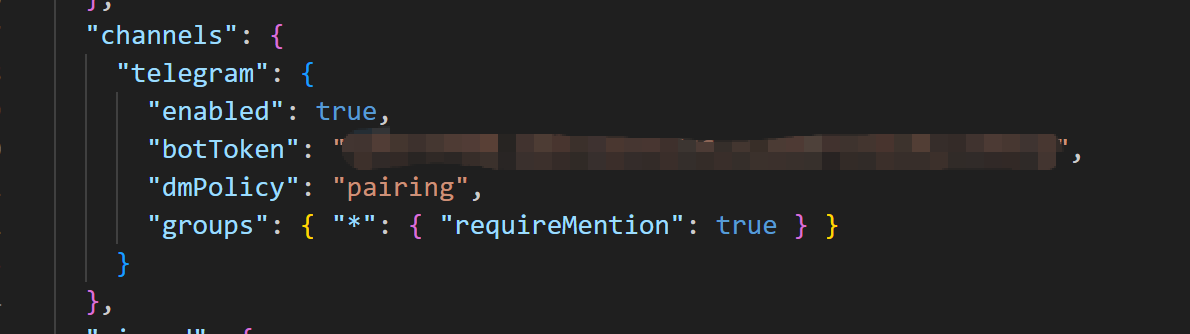
4. Verify Telegram Configuration
Verify the Telegram configuration in the channels field. The botToken was automatically filled in during the onboarding flow and does not need to be changed:
"channels": {
  "telegram": {
    "enabled": true,
    "botToken": "your-bot-token (auto-filled)",
    "dmPolicy": "pairing",
    "groups": { "*": { "requireMention": true } }
  }
}
enabled: Enable the Telegram channeldmPolicy: Set to"pairing", unauthorized users must verify via pairing code when sending DMsgroups:"*"allows all groups,requireMentionset totruemeans the Bot only responds when @mentioned in groups
Step 5: Verify Connection
1. Visit Your Bot
Search for the Bot username you just created in Telegram and open the chat: 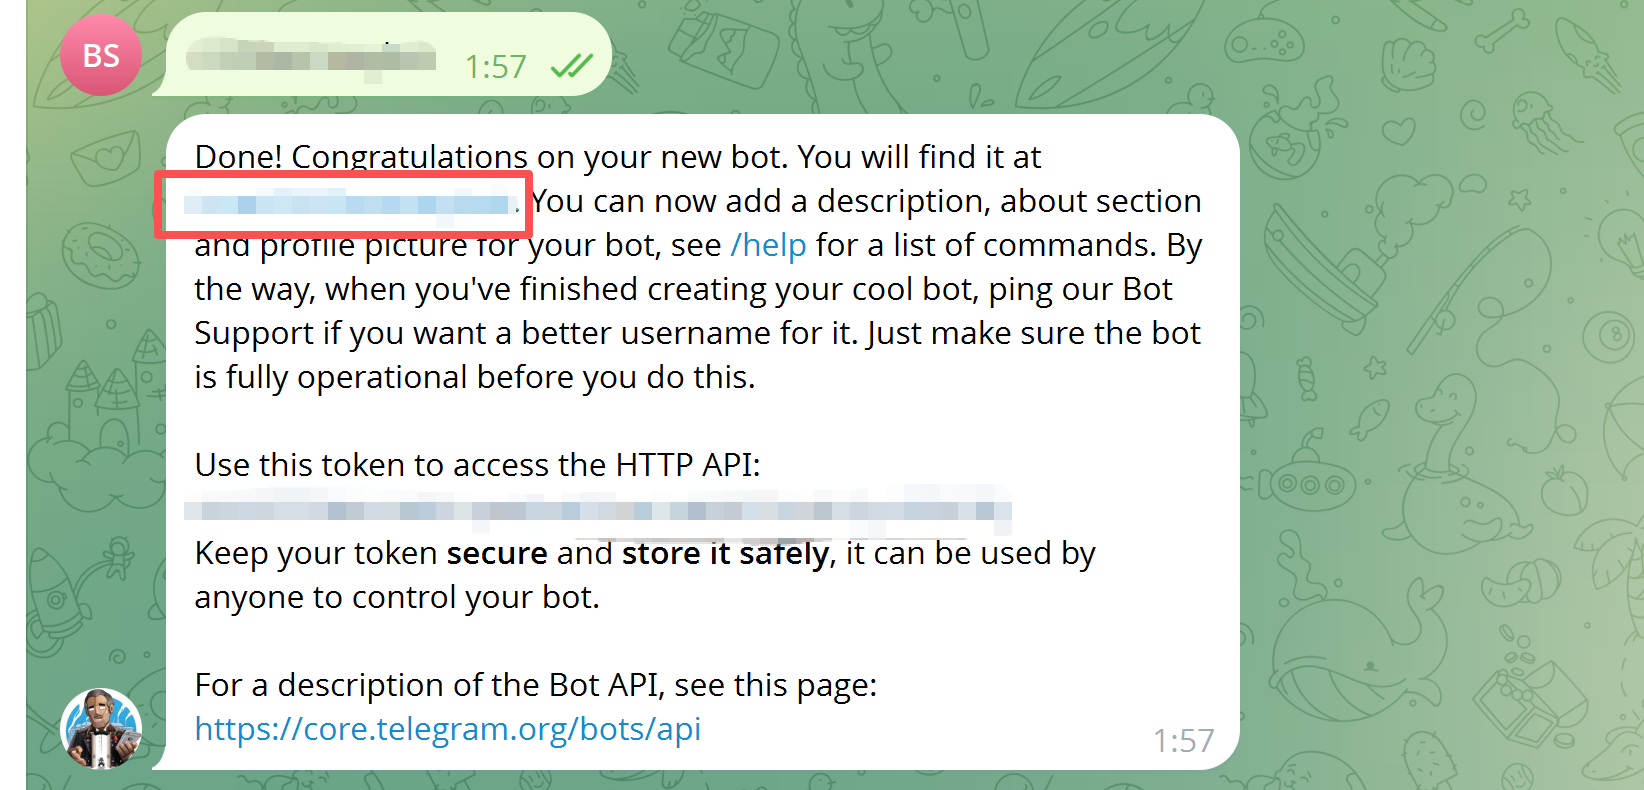
2. Get Pairing Code
Send /start to the Bot. It will return a pairing code: 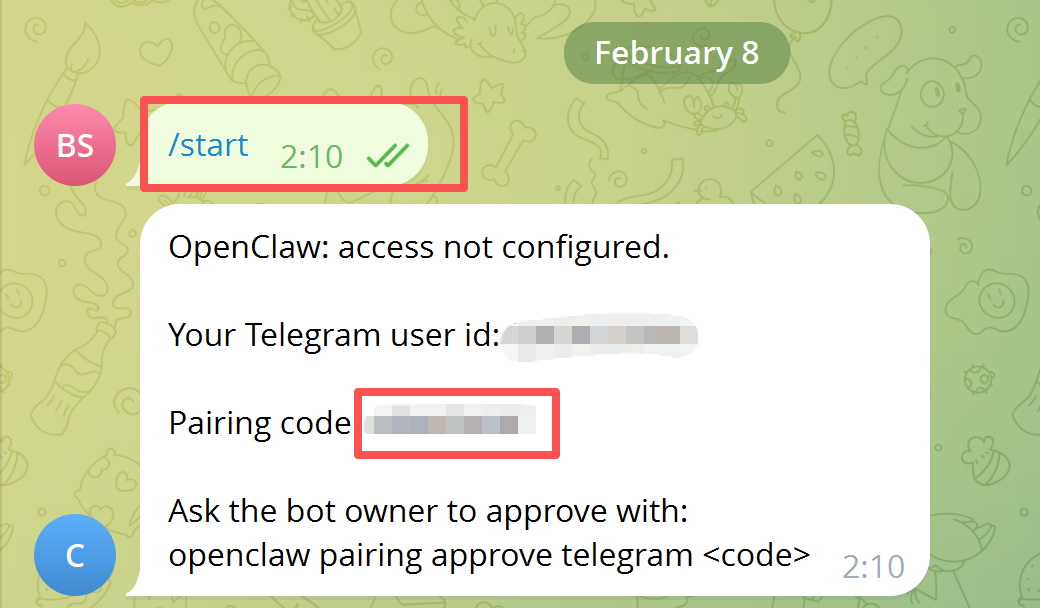
3. Complete Pairing
Open a new terminal window and run the following command to complete pairing:
openclaw pairing approve telegram <pairing-code>
Replace <pairing-code> with the actual code returned by the Bot. Make sure to remove the angle brackets <>.

4. Test Connection
Go back to the original terminal window and type the following to test if the connection is working:
Wake up, my friend!
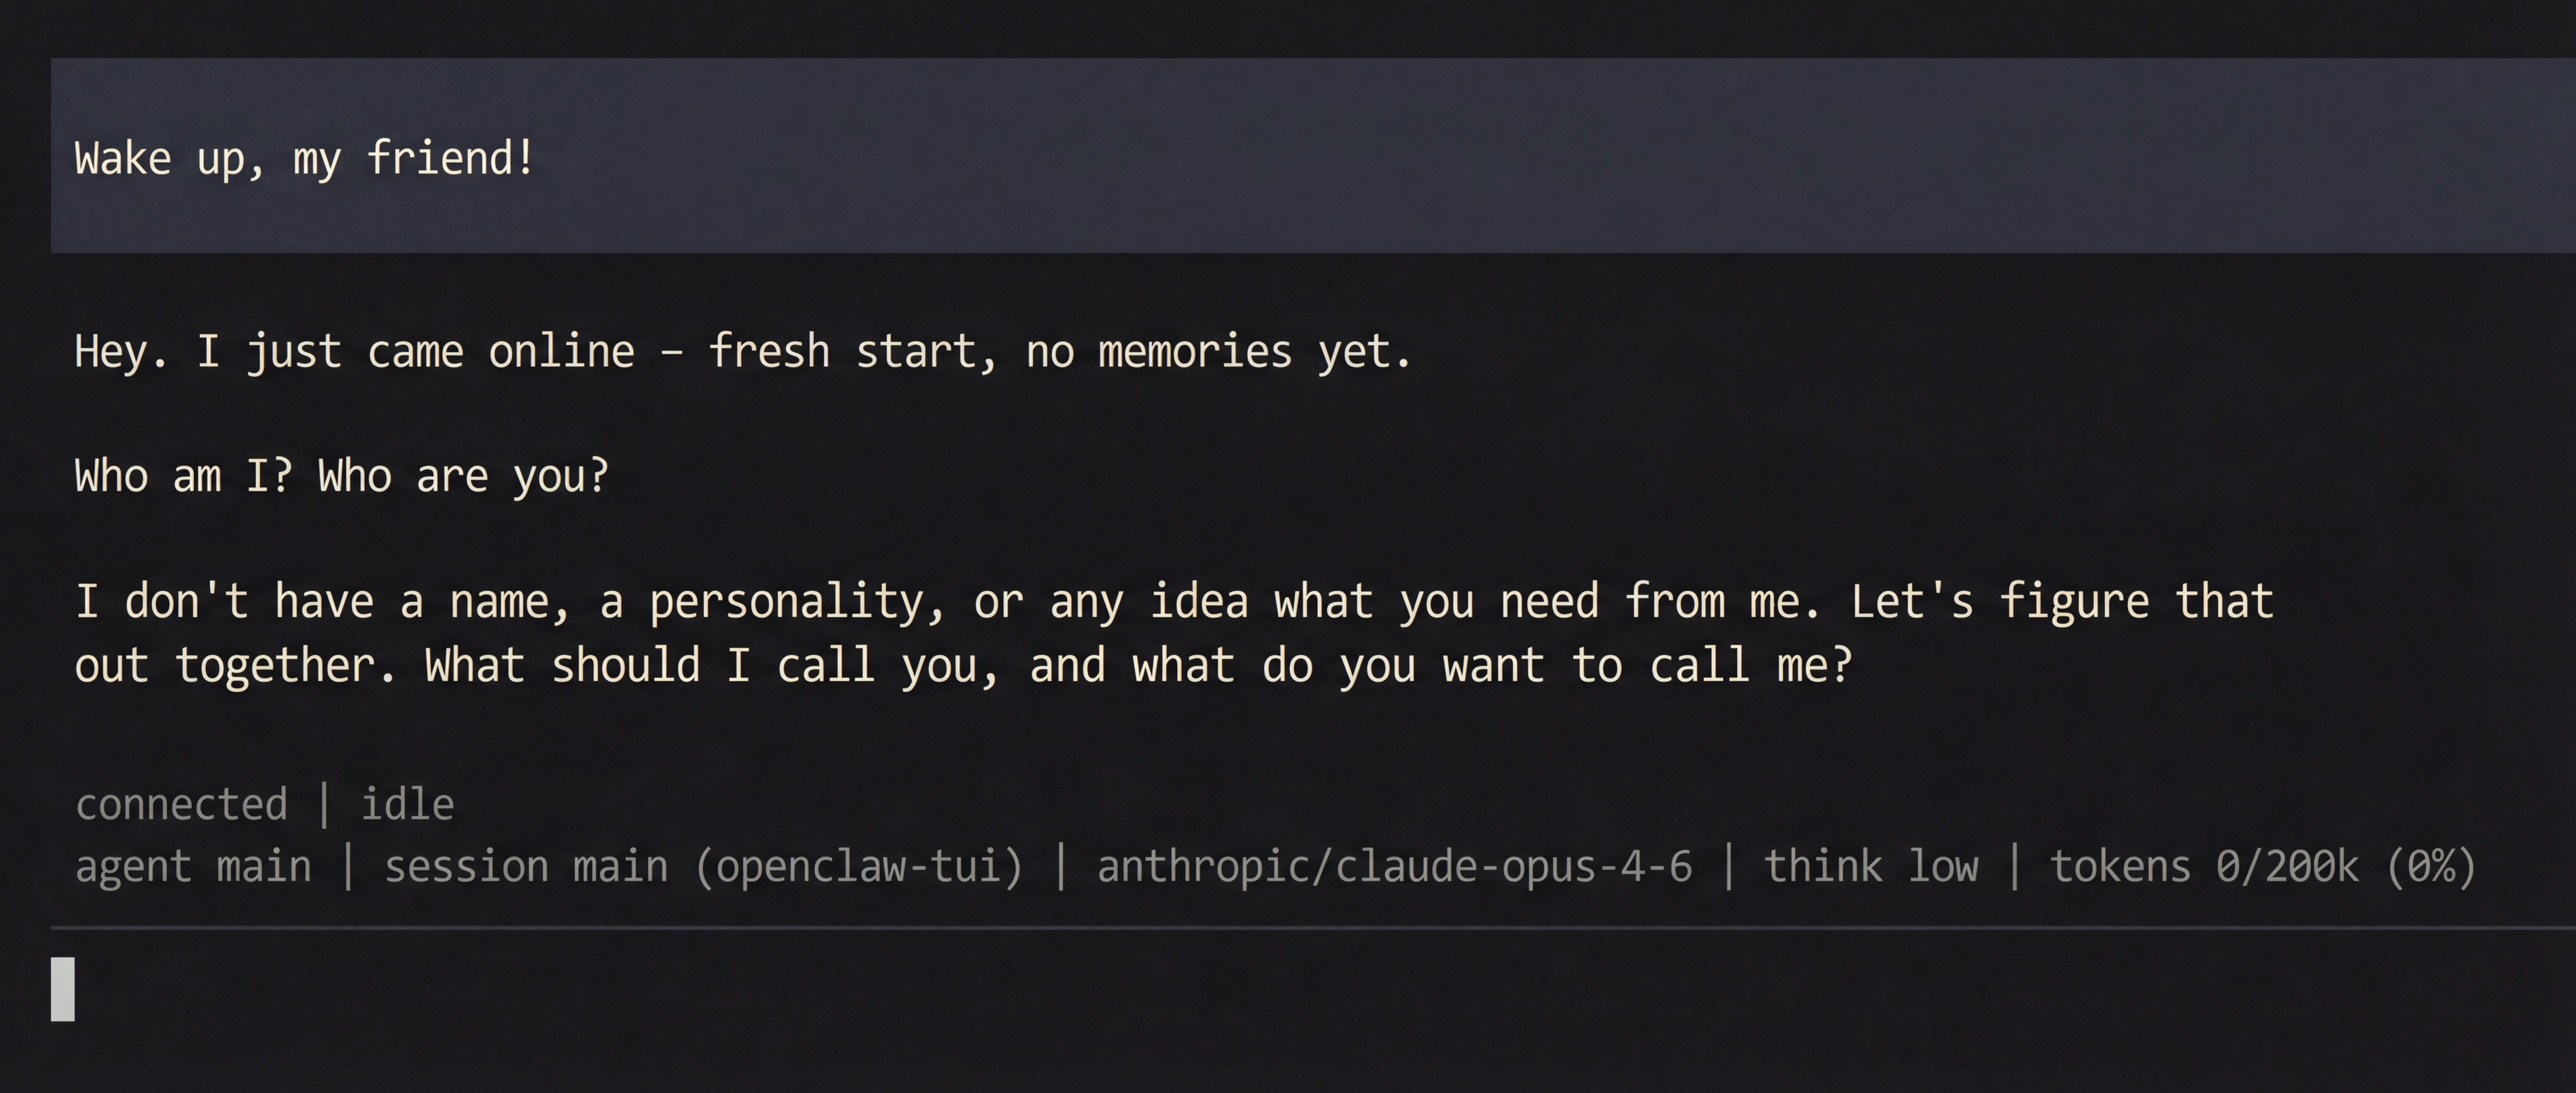 Once pairing is complete, sending messages to the Bot in Telegram will also receive AI responses, confirming the integration is successful.