OpenCode
Wire OpenCode — the open-source coding agent — to Z-Mint AI.
Overview
 OpenCode is a Go-based open-source command-line programming tool (CLI) that provides powerful AI assistance for developers. It offers an intuitive Terminal User Interface (TUI) and supports multiple LLM providers including OpenAI, Anthropic, Gemini, and more. By integrating OpenCode with Z-Mint AI API, you can access top-tier AI models including Claude, GPT, and Gemini series, enabling unified key multi-model access.
Prerequisites
Before configuring, make sure you have:
1. Terminal Emulator
OpenCode requires a modern terminal emulator. Recommended options:
- WezTerm (cross-platform)
- Alacritty (cross-platform)
- Ghostty (Linux and macOS)
- Kitty (Linux and macOS)
Windows users can also use PowerShell or Windows Terminal. macOS users can use the built-in Terminal.app or iTerm2. Linux users can use the built-in terminal or GNOME Terminal, Konsole, etc.
2. Get Z-Mint AI API Key
- Log in to Z-Mint AI Dashboard
- Find API Keys in the dashboard, click ‘Create New Key’ button, then copy the generated Key
- API Key usually starts with
sk-
Step 1: Install OpenCode
Tip: If you don’t know how to open a command line terminal, see FAQ - How to open command line terminal
- macOS / Linux
- Windows
The easiest way is through the install script:
curl -fsSL https://opencode.ai/install | bash
Or using Homebrew:
brew install anomalyco/tap/opencode
Windows users should first install Node.js, then install via NPM:
npm i -g opencode-ai@latest
Or using Chocolatey:
choco install opencode
Or using Scoop:
scoop bucket add extras
scoop install extras/opencode
Verify Installation
opencode --version
Success indicator: Shows version information. If you prefer a graphical interface, OpenCode also offers a desktop app available at OpenCode Download Page.
Step 2: Configure Z-Mint AI API
1. Initialize Provider
After installation, run the following command in your terminal before launching OpenCode:
opencode auth login
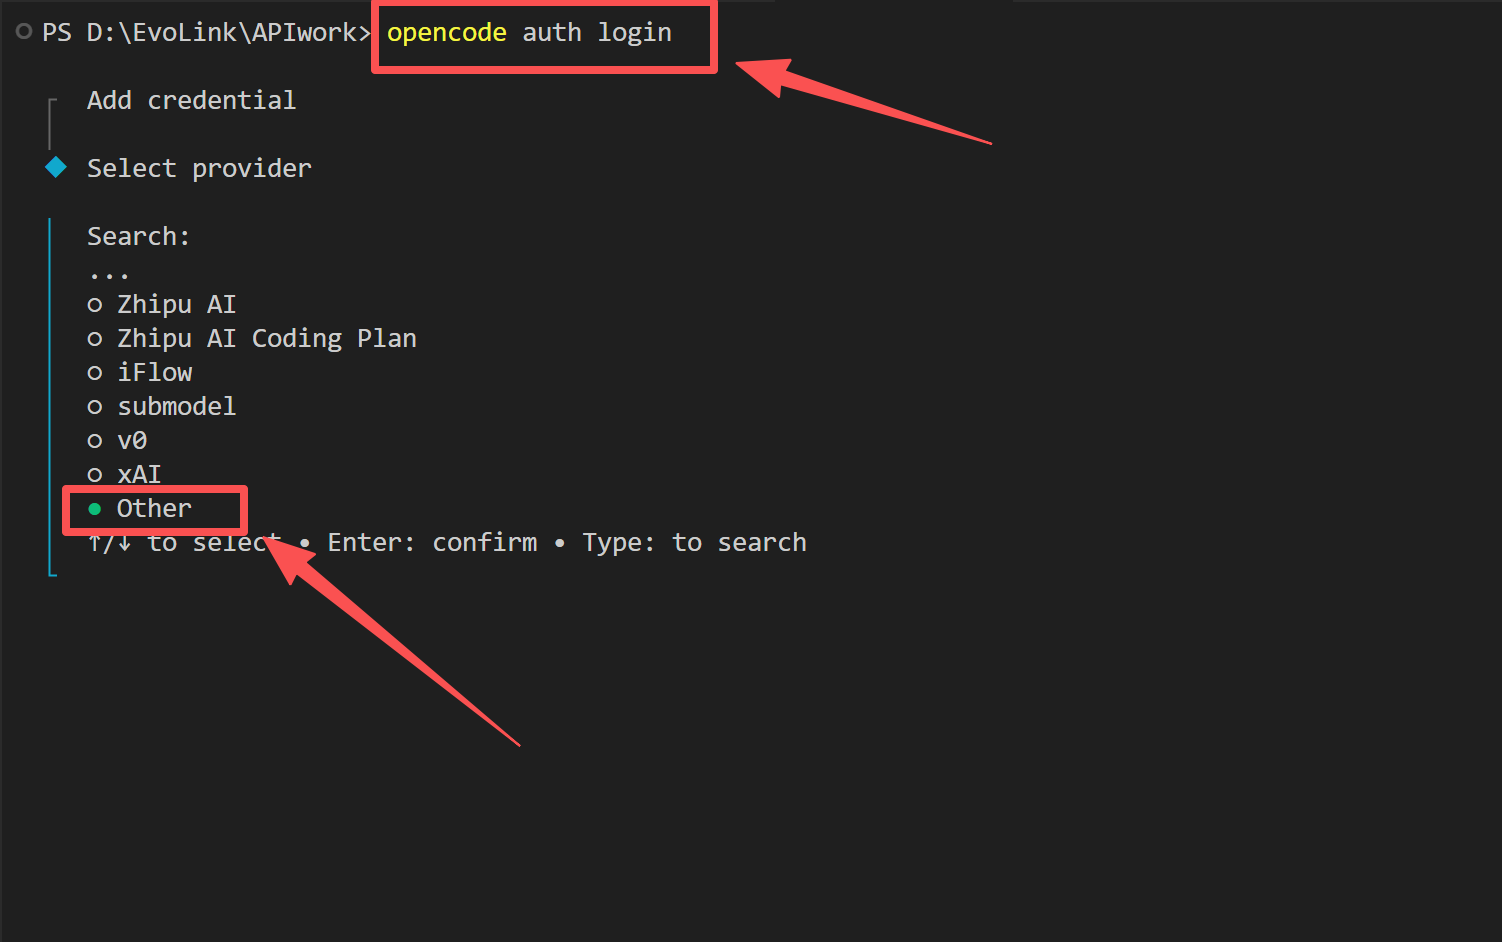
- In the provider list, select other (at the bottom, you can search for it)
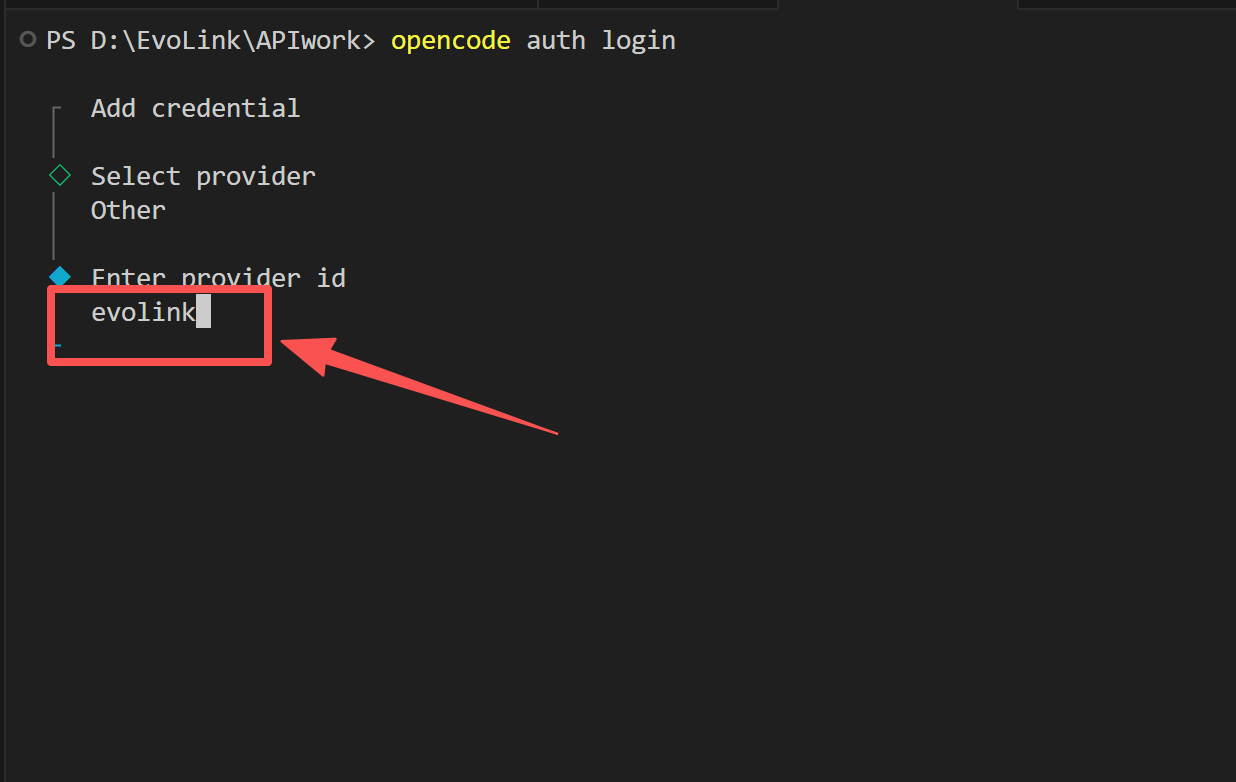
- Enter Provider ID: type
zmint-anthropic
- Enter API Key token: you can enter any value (e.g.,
admin), the actual key is referenced via config file
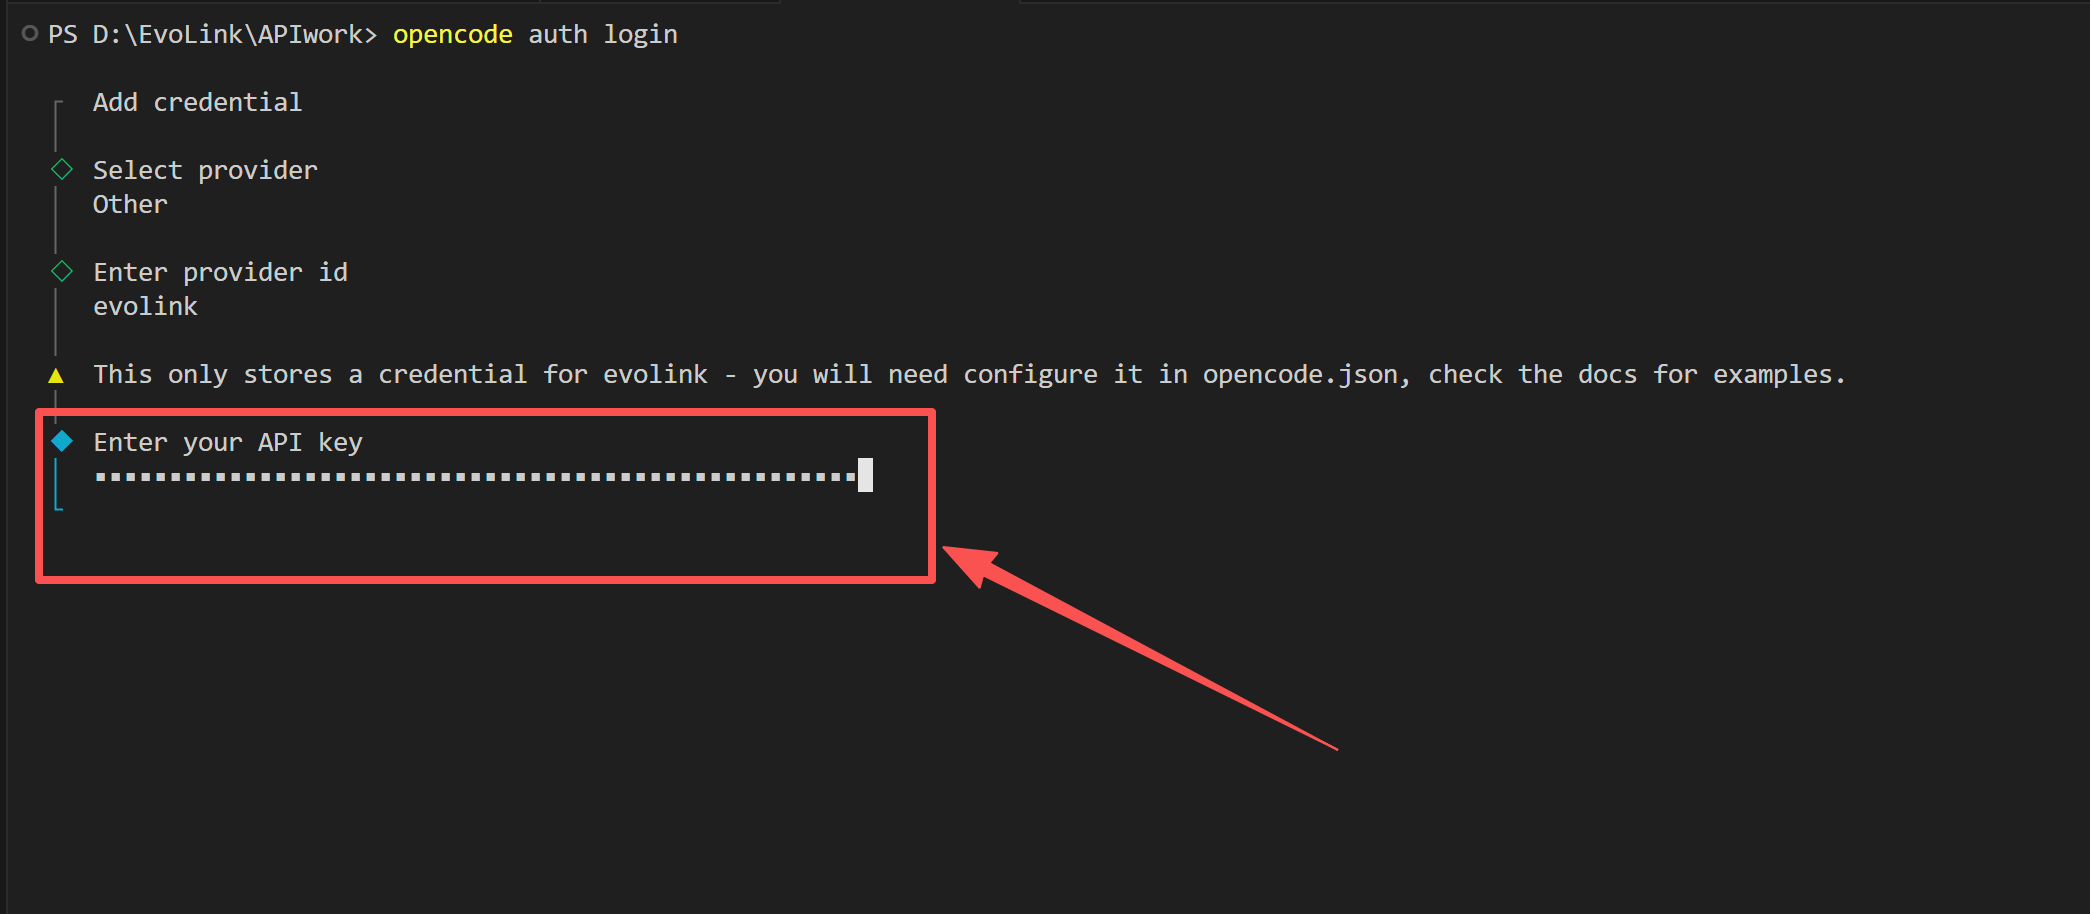 This step registers a custom provider in OpenCode’s local credential manager.
2. Edit Config File
Open the OpenCode config directory:
- Windows
- macOS / Linux
Press Win + R, paste the following, then press Enter:
%userprofile%\.config\opencode
In terminal, run:
cd ~/.config/opencode
Or access ~/.config/opencode/ in Finder/file manager
Create or edit opencode.json in this directory:
{
    "$schema": "https://opencode.ai/config.json",
    "provider": {
        "zmint-anthropic": {
            "npm": "@ai-sdk/anthropic",
            "name": "Z-Mint AI Claude",
            "options": {
                "baseURL": "https://aigc.zhengmi.org/v1",
                "apiKey": "Your Z-Mint AI API Key"
            },
            "models": {
                "claude-opus-4-7": {
                    "name": "Claude Opus 4.7"
                },
                "claude-opus-4-6": {
                    "name": "Claude Opus 4.6"
                },
                "claude-sonnet-4-6": {
                    "name": "Claude Sonnet 4.6"
                },
                "claude-opus-4-5-20251101": {
                    "name": "Claude 4.5 Opus"
                },
                "claude-sonnet-4-5-20250929": {
                    "name": "Claude 4.5 Sonnet"
                },
                "claude-haiku-4-5-20251001": {
                    "name": "Claude 4.5 Haiku"
                }
            }
        },
        "zmint-google": {
            "npm": "@ai-sdk/google",
            "name": "Z-Mint AI Gemini",
            "options": {
                "baseURL": "https://aigc.zhengmi.org/v1beta",
                "apiKey": "Your Z-Mint AI API Key"
            },
            "models": {
                "gemini-2.5-flash": {
                    "name": "Gemini 2.5 Flash"
                },
                "gemini-2.5-pro": {
                    "name": "Gemini 2.5 Pro"
                },
                "gemini-3-flash-preview": {
                    "name": "Gemini 3.0 Flash"
                },
                "gemini-3-pro-preview": {
                    "name": "Gemini 3.0 Pro"
                },
                "gemini-3.1-flash-lite-preview": {
                    "name": "Gemini 3.1 Flash Lite"
                },
                "gemini-3.1-pro-preview": {
                    "name": "Gemini 3.1 Pro"
                }
            }
        },
        "zmint-openai": {
            "npm": "@ai-sdk/openai",
            "name": "Z-Mint AI GPT",
            "options": {
                "baseURL": "https://aigc.zhengmi.org/v1",
                "apiKey": "Your Z-Mint AI API Key"
            },
            "models": {
                "gpt-5.1": {
                    "name": "GPT-5.1"
                },
                "gpt-5.2": {
                    "name": "GPT-5.2"
                },
                "gpt-5.4": {
                    "name": "GPT-5.4"
                },
                "MiniMax-M2.5": {
                    "name": "MiniMax M2.5"
                }
            }
        }
    }
}
⚠️ Important:
- Replace
"Your Z-Mint AI API Key"with your actual API Key - JSON format is sensitive to symbols
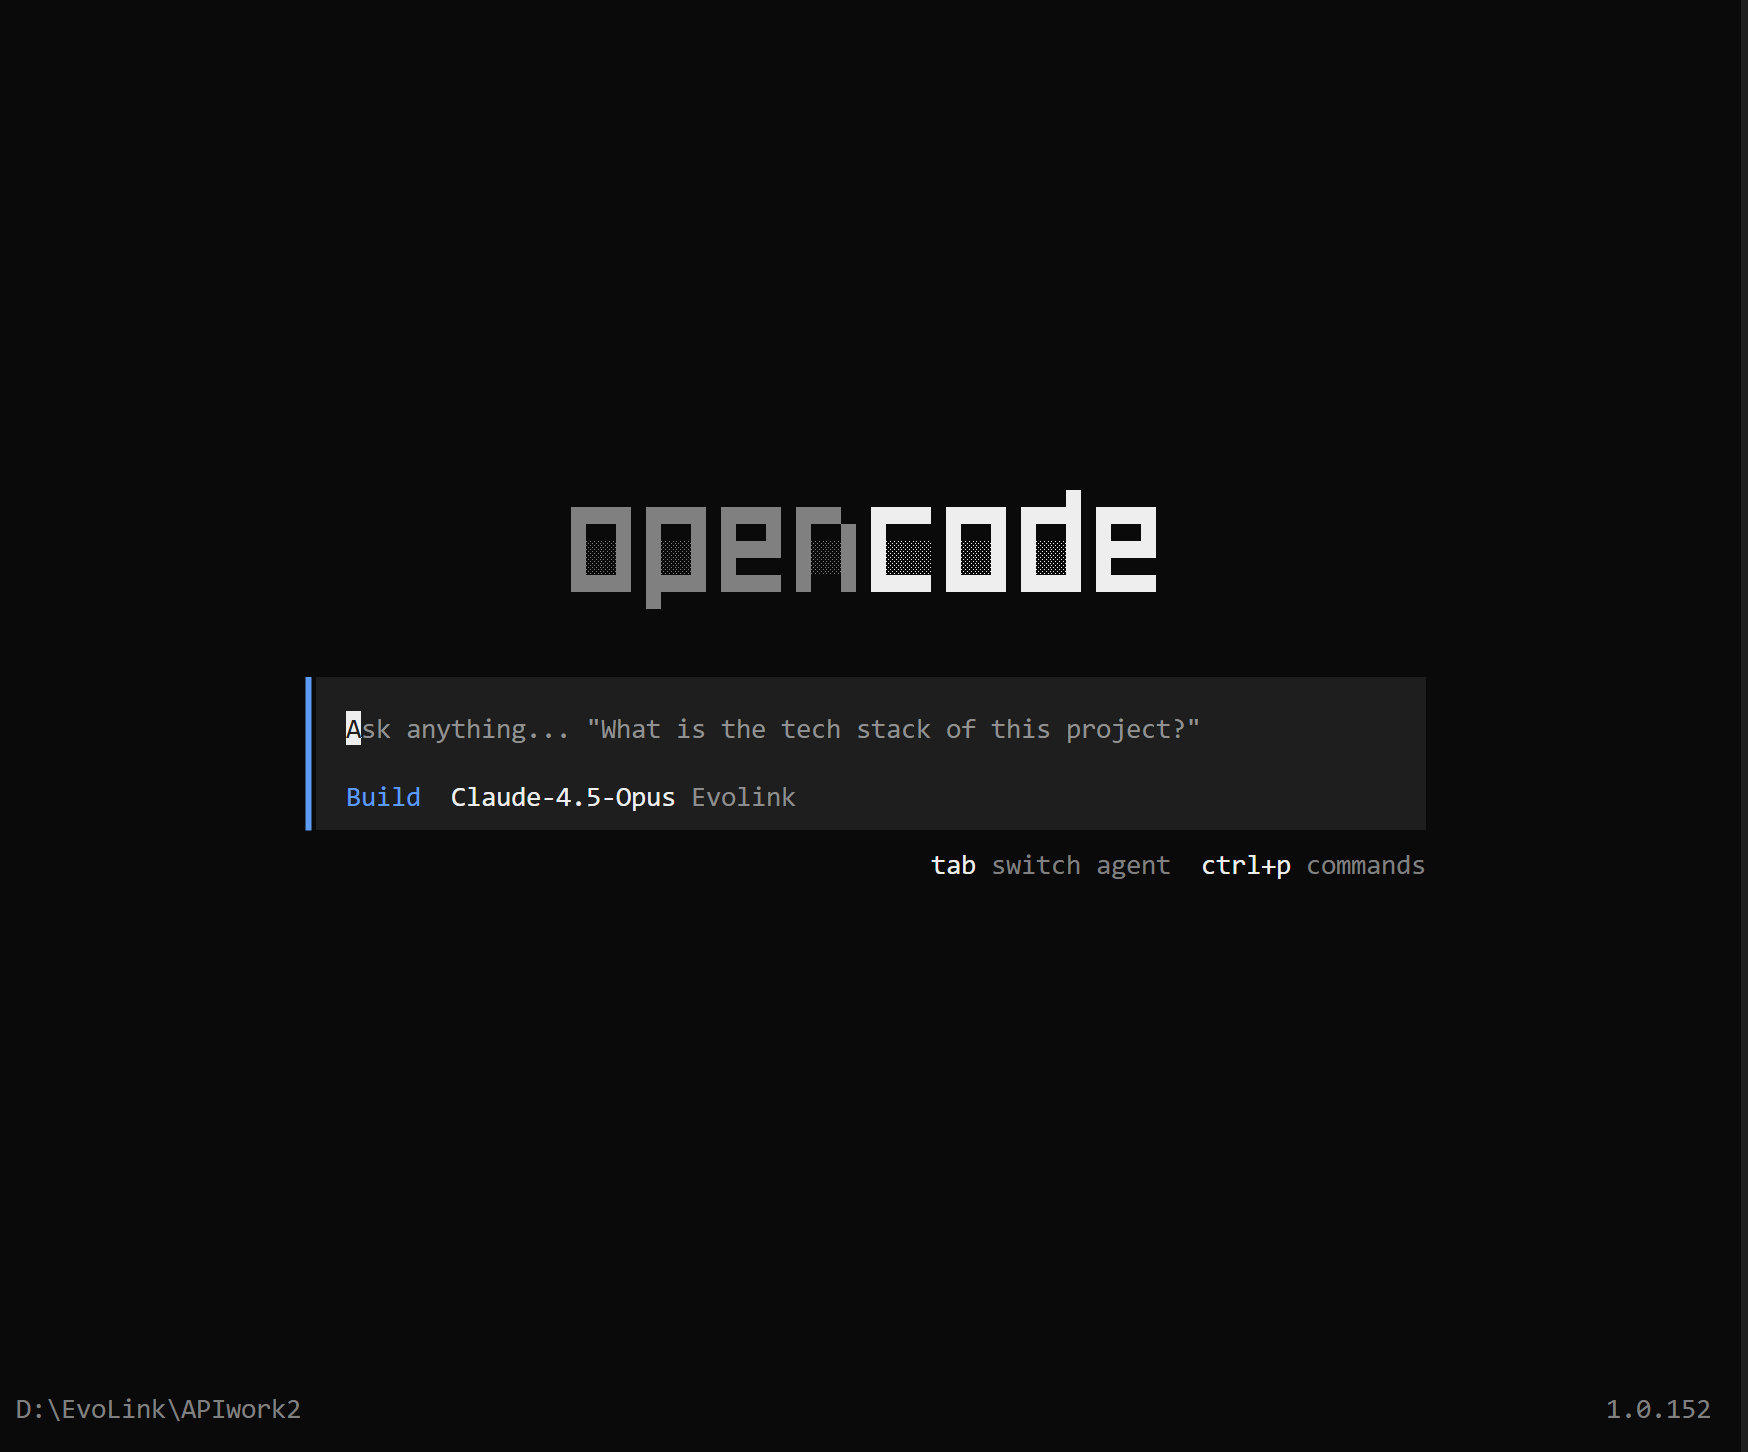
Step 3: Start Using OpenCode
1. Launch OpenCode
After saving the config file, restart your terminal, then navigate to your working directory:
cd your-working-directory
Launch OpenCode:
opencode
2. Verify Configuration
In the chat interface, enter the command:
/models
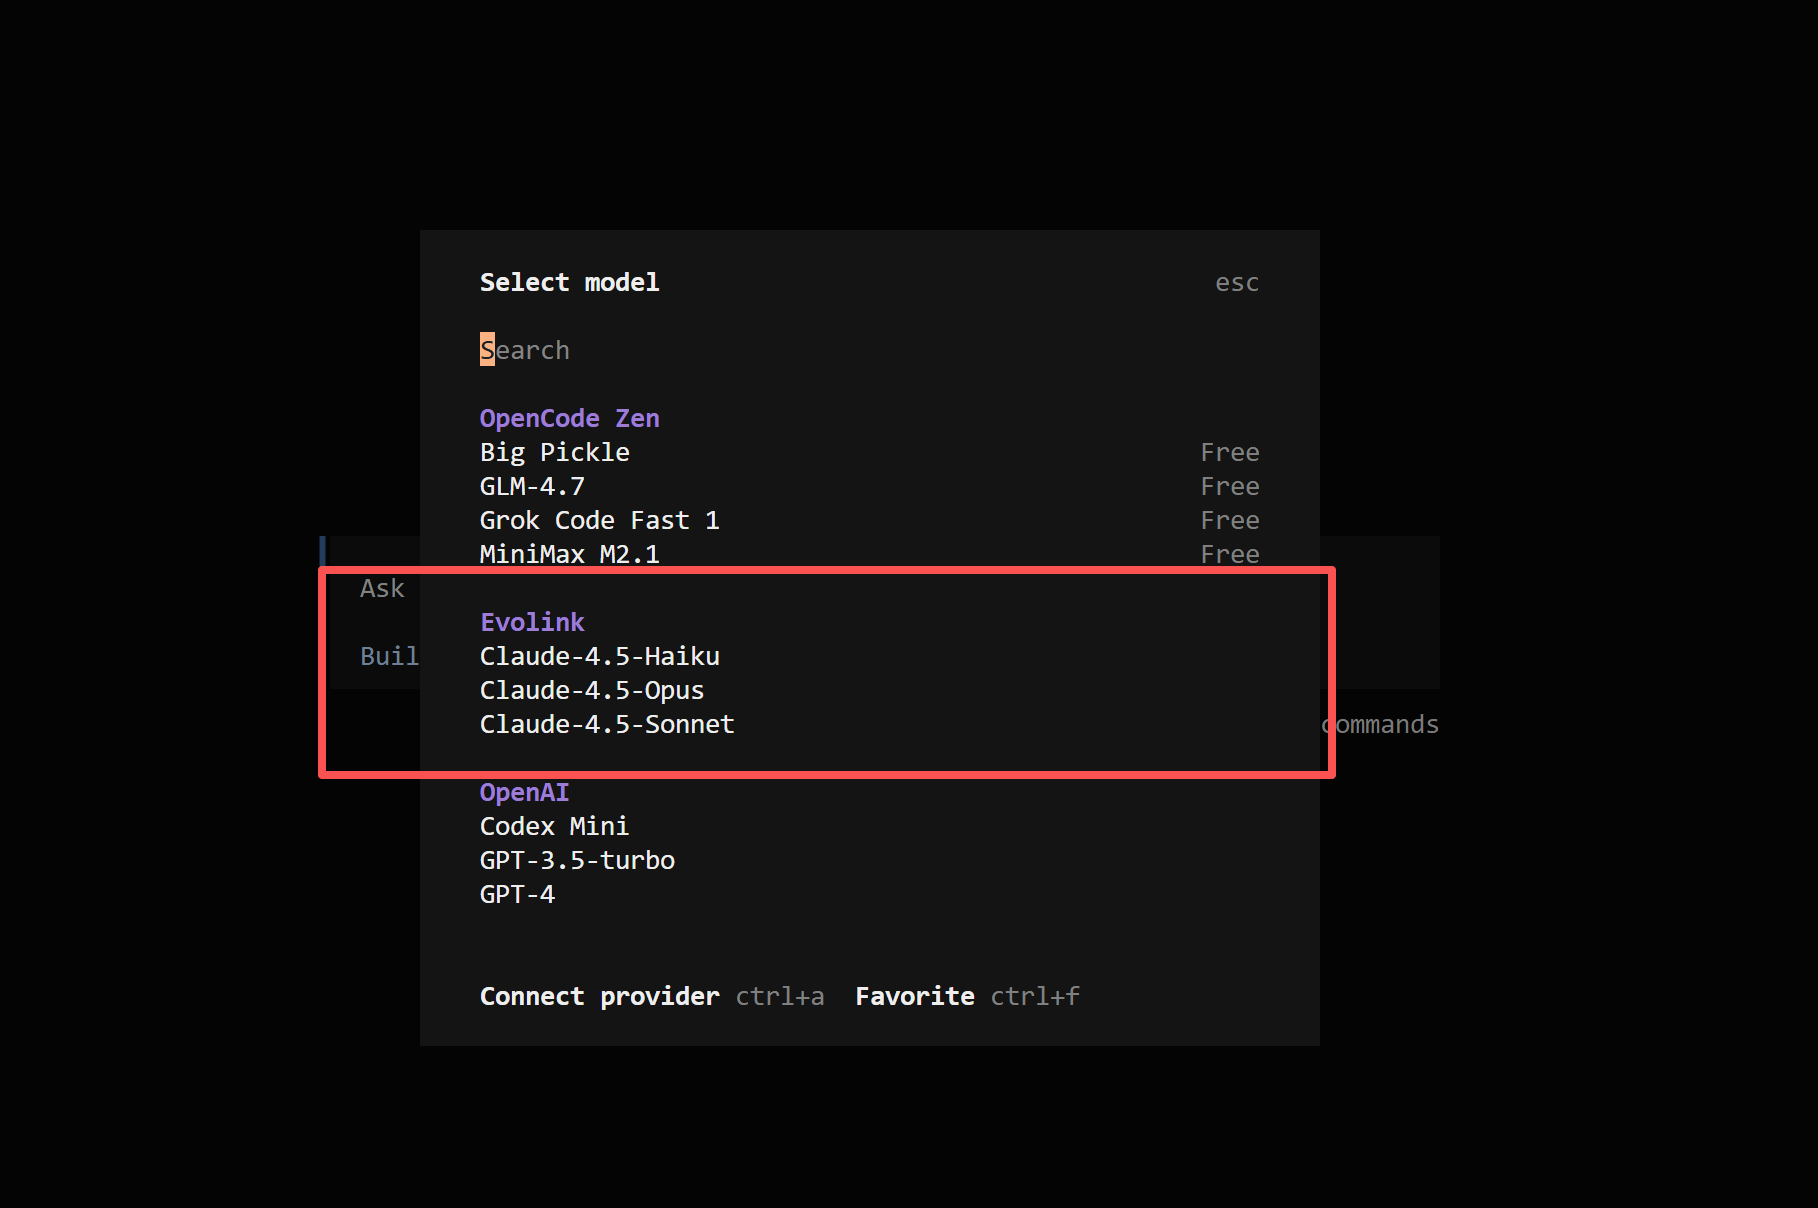 You should see Z-Mint AI Claude, Z-Mint AI Gemini, and Z-Mint AI GPT in the model list. Select one and you’re ready to go!
FAQ
1. What is OpenCode and what is it used for?
OpenCode is an open-source terminal AI coding assistant with a modern TUI interface. It supports code editing, file operations, and command execution, ideal for AI-assisted programming in terminal environments.
2. How do I verify installation and configuration on first use?
Run these steps in sequence:
opencode --version: Confirm OpenCode is installed- Launch OpenCode and enter
/models: Confirm you can see the configured models
3. Where should the config file be placed?
The opencode.json config file should be placed at:
- Windows:
C:\Users\{username}\.config\opencode\opencode.json - macOS / Linux:
~/.config/opencode/opencode.json
4. What models does OpenCode support?
Through Z-Mint AI API, OpenCode supports the following models: Claude series:
- Claude Opus 4.6 / Sonnet 4.6: Latest generation models
- Claude 4.5 Opus / Sonnet / Haiku: High-performance model family
Gemini series:
- Gemini 2.5 Flash / Pro: Latest generation balanced models
- Gemini 3.0 Flash / Pro: Next-generation high-performance models
- Gemini 3.1 Flash Lite / Pro: Newest generation models with enhanced capabilities
GPT series:
- GPT-5.1: Advanced reasoning model
- GPT-5.2: Enhanced multi-task model
- GPT-5.4: Latest flagship model
- MiniMax M2.5: MiniMax high-performance model
5. How do I switch models?
In the OpenCode interface, enter the /models command, then select your desired model from the list.
6. Why don’t my config changes take effect?
- Restart OpenCode
- Check
opencode.jsonsyntax (JSON format) - Verify config file path is correct
7. What causes 401/403 errors?
- 401 error: API Key not set or invalid
- 403 error: Insufficient permissions or expired key
- Check the
apiKeyin your config file
8. Will OpenCode automatically read or upload my local files and code?
OpenCode only reads file content when you explicitly authorize it. It’s recommended to use it in a dedicated project folder.
9. Does OpenCode support Chinese input and output?
Yes, fully supported.
10. What scenarios is OpenCode suited for?
Suited for:
- Code writing, debugging, and refactoring
- AI-assisted programming in terminal environments
- File content analysis and processing
- Users who prefer modern TUI interfaces
Not suited for:
- Complex GUI interactions
- Users unfamiliar with terminal operations
11. How to open command line terminal?
- Windows
- macOS
- Linux
<!--THE END-->
- Method 1: Press
Win + R, typecmdorpowershell, then press Enter - Method 2: Search for “Command Prompt” or “PowerShell” in the Start menu
- Method 3: Hold Shift and right-click in a folder, select “Open PowerShell window here”
<!--THE END-->
- Method 1: Press
Command + Spaceto open Spotlight, typeTerminal, then press Enter - Method 2: Go to “Applications” → “Utilities” → “Terminal”
<!--THE END-->
- Method 1: Press
Ctrl + Alt + Tshortcut - Method 2: Search for “Terminal” in the application menu
Notes
Run OpenCode in a dedicated project folder. Avoid running it in sensitive directories (such as system folders or directories containing credentials). OpenCode operates starting from the current working directory.
OpenCode uses JSON format config files. Ensure your config file syntax is correct. You can use online JSON validators to check the format.